Let’s get started
This will be a short article to get you started with Ansible and its amazing powers.
First, let’s go to vultr and create ourselves three servers. Don’t worry, it won’t cost you much because we’ll destroy them after we’re done. Choose the cloud compute and regular Intel performance options. Pick the location closest to you geographically for best performance.
Create a CentOS 9 server and two Ubuntu 22.04 servers. They’ll take a bit to deploy, so be patient, (keep an eye on the consoles). Once CentOS is ready, restart it through Vultr’s interface, so you can SSH into it.
SSH into your centos box first with ssh root@ipaddress.
Then run yum update -y && yum install epel-release -y && yum install ansible -y.
The first command is updating the repos, the second is adding the repo with Ansible and the last one is installing Ansible
Get to know your ansible files
Navigate to /etc/ansible. Right now we’re only using hosts and ansible.cfg, don’t worry about the roles directory. In the ansible directory run ansible-config init --disabled > ansible.cfg to generate a full commented out config.
Your hosts file is where you put the information for all your Linux boxes, aka their IPs, users, and passwords/ssh keys. For this brief tutorial, we’ll be using the root user and a password authentication method. This is only for the tutorial, never use root and always use ssh keys.
Open up the hosts files with either nano or vim. Let’s add the IPs and passwords of the two ubuntu boxes we created.
Your hosts file should look like this:

Notice how we can define a group by naming it and surrounding it in square brackets. We could have also created another variable called [linux:vars] and put our login credentials there. But since the passwords for the servers are different, and we’re not using ssh keys, it’s best to do it this way. Now go into your ansible.cfg and uncomment the line host_key_checking=true and make it False.
And that’s it. You’re ready to use ansible. Let’s try out some commands:
A few commands
Let’s ping our boxes, ansible linux -m ping.
The syntax is easy to understand: you have the ansible command, then linux to specify the hosts/group, -m to specify the module and finally a ping command. Also when you run an ansible command you’ll notice it gathers facts about the machines.

Playbooks
This is where Ansible shines. With a playbook, you can design your Linux servers, network routers, and more to have everything you need. For example, we can make sure all our Linux boxes have neovim installed. Here’s a quick script to get us going.
1---
2  - name: neovim
3    hosts: linux
4    tasks:
5      - name: install neovim
6        apt:
7          name: neovim
8          state: latest
Ansible uses yaml for its playbook files so create a neovim.yaml file with the above script. The script is straightforward, the first name variable is the name of our script. Thenhosts is the host we’re using,tasks is what’s going to be done, apt is the package manager for Ubuntu, name is what we’re installing and latest is the latest version.
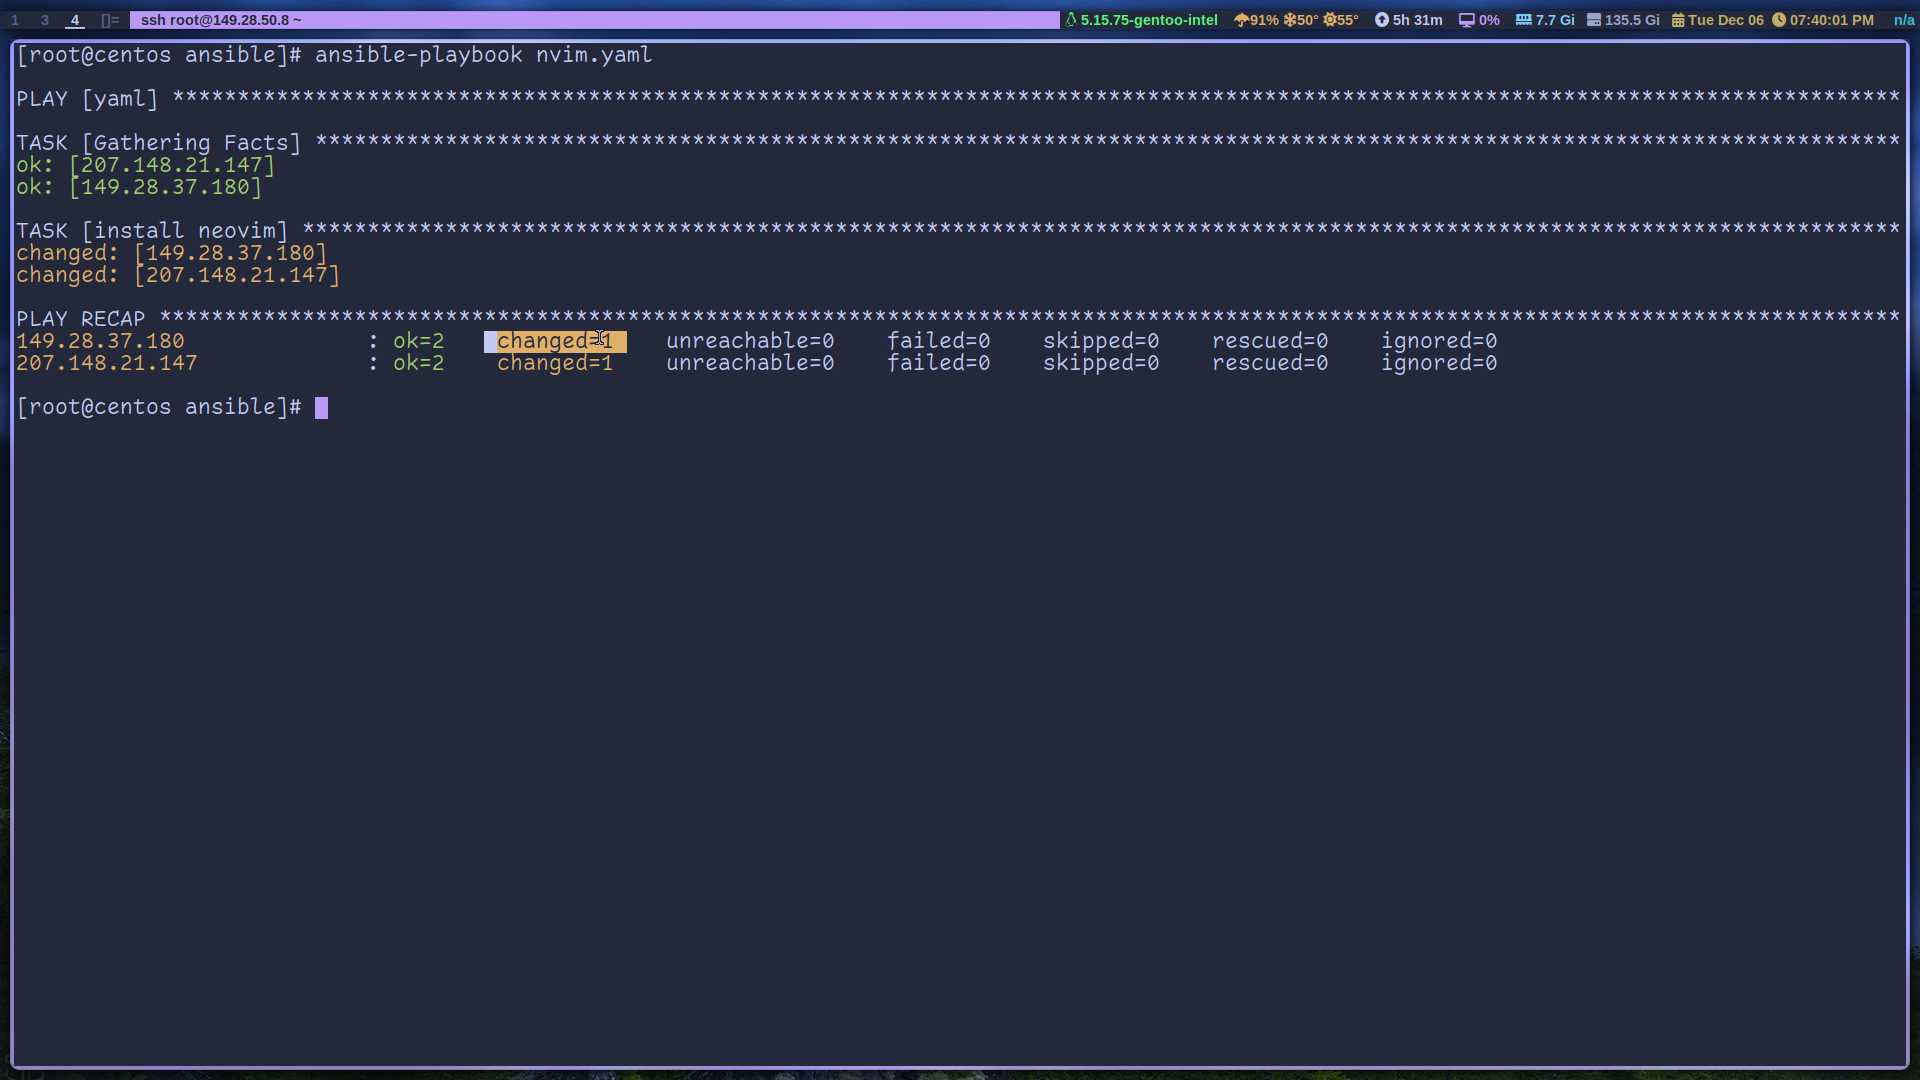
Now run the script with: ansible-playbook neovim.yaml
Now neovim was installed on both servers. You can see from the “changed=1” result.

And if you run the playbook again, you’ll see “changed=0” instead. Pretty amazing right. Now let’s revise the script to remove neovim; change state: latest to state: absent.
1---
2  - name: neovim
3    hosts: linux
4    tasks:
5      - name: install neovim
6        apt:
7          name: neovim
8          state: absent
And there you have it, a simple ansible tutorial. There’s so much that you can do with it, you can automate almost anything.
Comments