This is a short article on how to get started with git and github. We’re only going to be covering the basic commands of pushing, pulling and creating a repository.
Ceating repository
First install git on your system: sudo apt install git. Or the corresponding command for your system. Next, we’ll create an account at github.
Now, let’s go back to our local machine, create a new test dir: mkdir -pv test, cd test.
Run, git init --initial-branch=main, this turns the directory into a git repository with a default branch of main. Nowadays, when you run git init alone the default branch will already be main, but I wanted to show you that command in case you wanted to use a different branch name. Run ls -al while in the test directory you’ll see a .git directory, that’s where all the git information resides. If you delete that folder, then the test directory will no longer be a git repository.
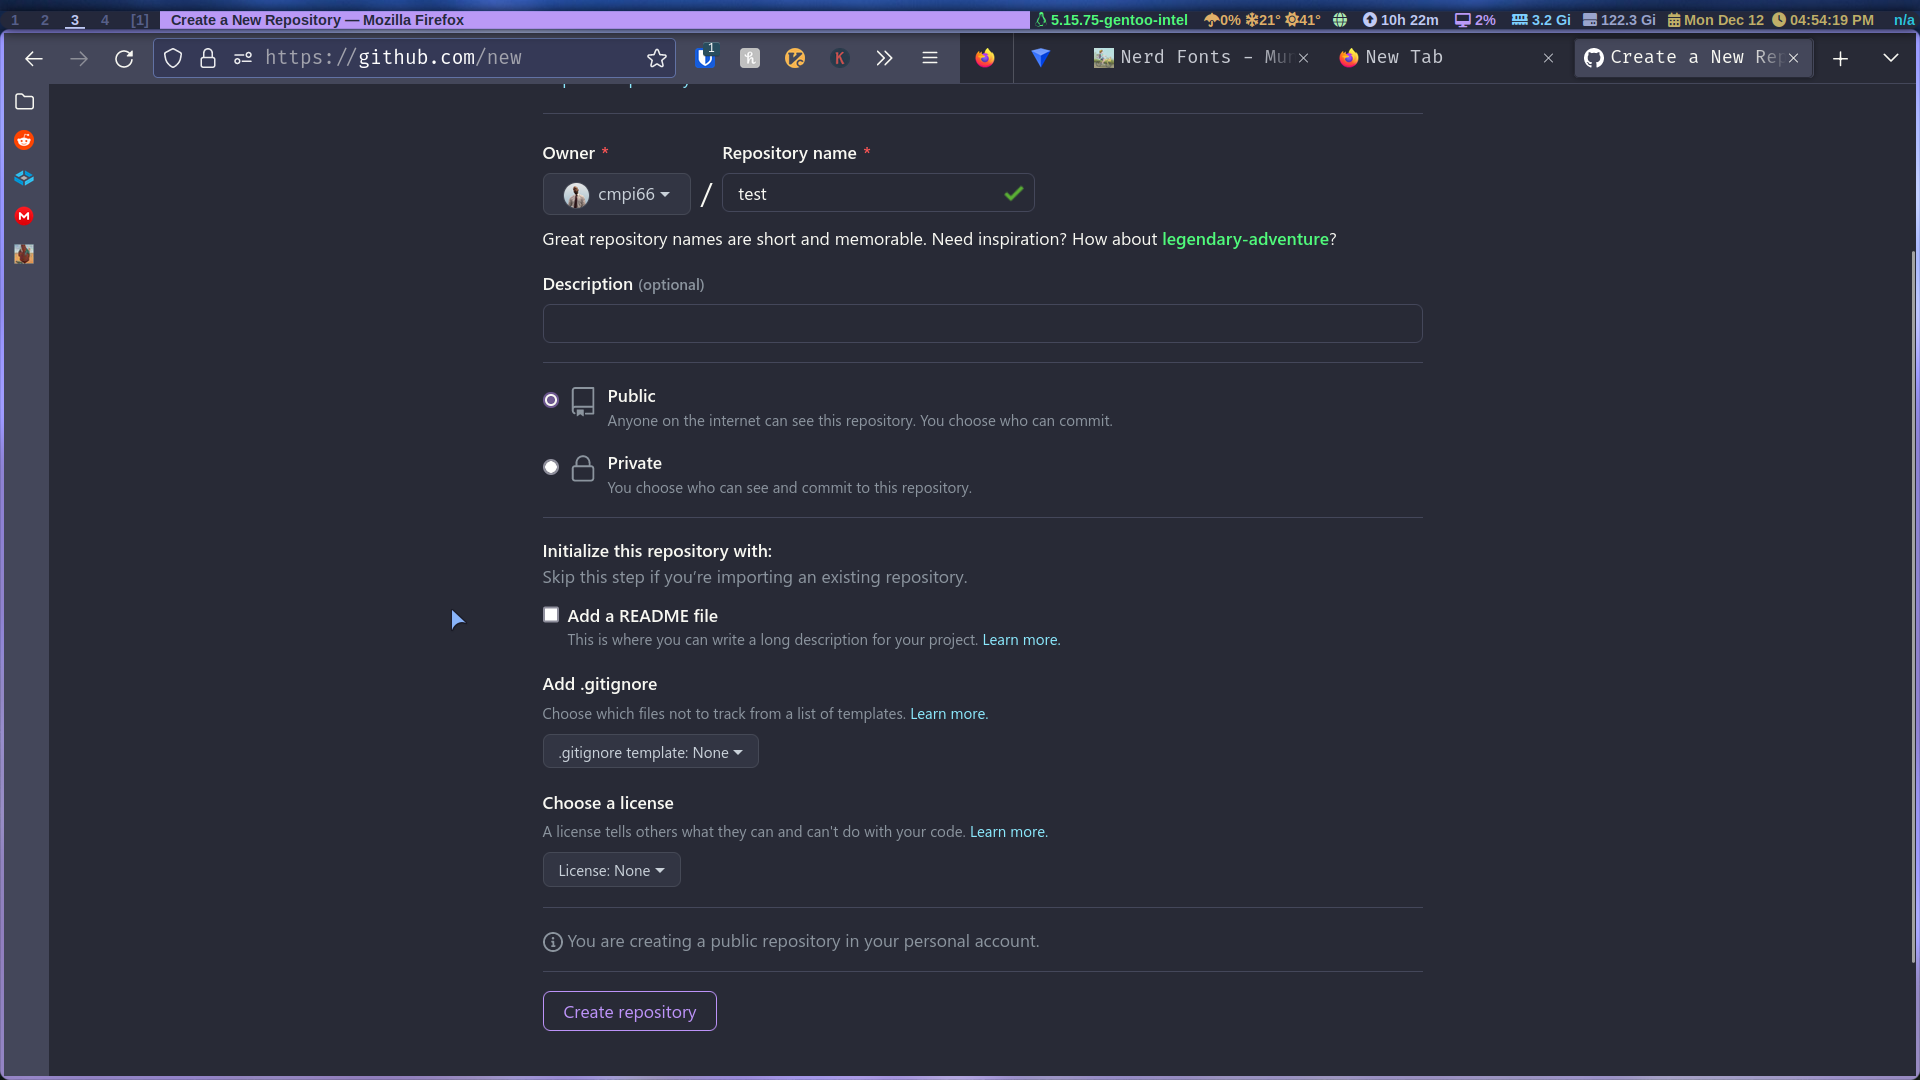
Go back to github and create a new repository, on your home page you’ll see new, click on that. Name the repository test, it needs to be the same name as your local repo. And uncheck the README.md, then click create.
And now you’ll see several commands it’s telling you to run, since we already created our own repo we’ll follow the second set. Go back to your local machine and cd test, then run:
commands
git git remote add origin https://github.com/YOURNAME/test.git
The last two commands aren’t necessary since we already have the main branch created and we’re not pushing yet.
Before we push our directory to github, let’s create a test file and add some text: touch file1 nano file1, just write “Hello world” for now.
Run these two commands to configure your local git user:
1
2git config --global user.email "YOUREMAIL"
1
2git config --global user.name "YOURNAME"
These commands are necessary so you can push to any git repo, it’ll generate a .gitconfig file in $HOME
commiting changes
Let’s push our changes to github now:
git add file1 this adds file1 to be committed
git status you can see the status of what’s been changed
git commit -m 'initial commit' You’re now committing the changes and they’re ready to be pushed, you can write any message you want as long as it’s in quotation marks.
git push Finally your pushing all your changes to the remote repo, go ahead to github.com and you’ll see your repo there.
Add ssh keys
You noticed that you had to put a password, so you could push your changes, that can get annoying quickly. Let’s set up ssh keys, so we no longer have to input any passwords.
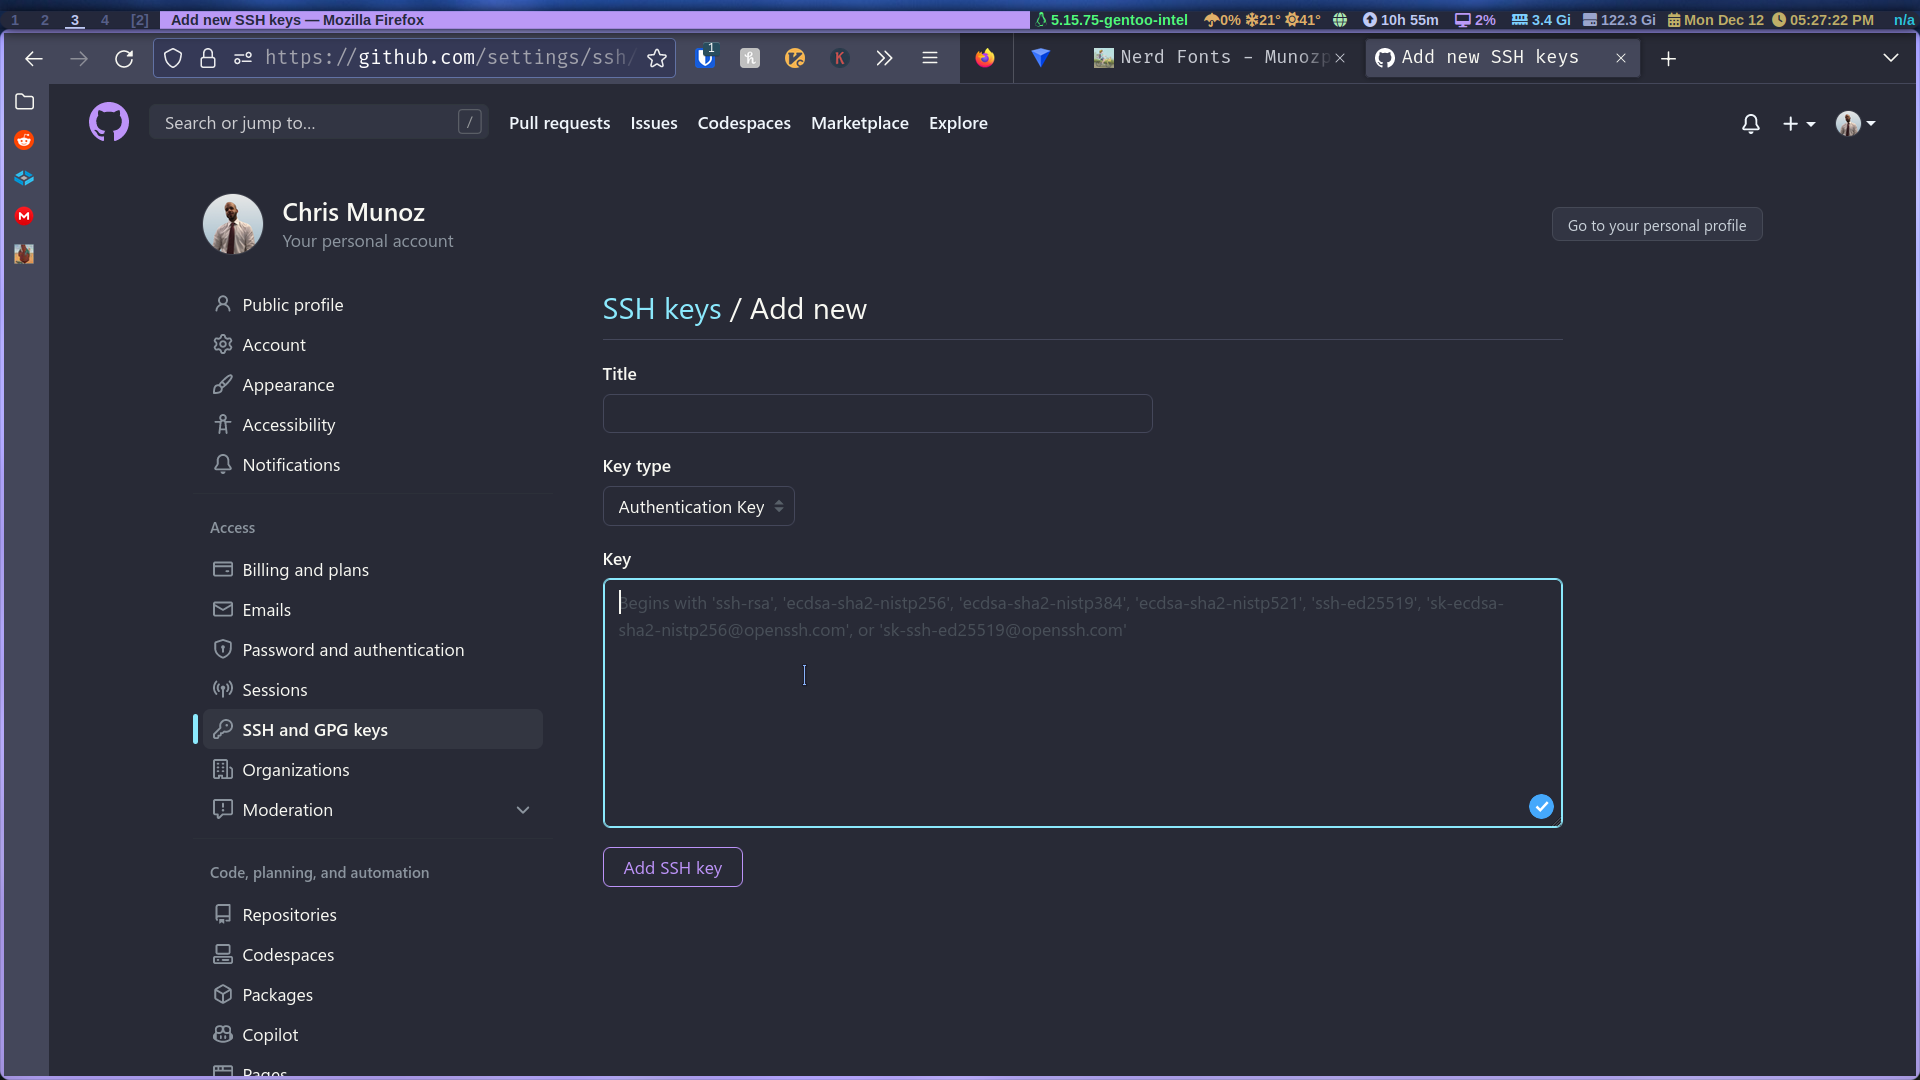
Create your ssh keys locally: ssh-keygen -t rsa -b 2048. This generates an ssh key with an rsa type and 2048 bits. Add a passphrase if you’d like. Go to your .ssh folder and copy the entire contents of your id_rsa.pub. Go to github, settings, SSH and GPG keys and click add a new key. Name your key whatever you want and paste the contents in the box.
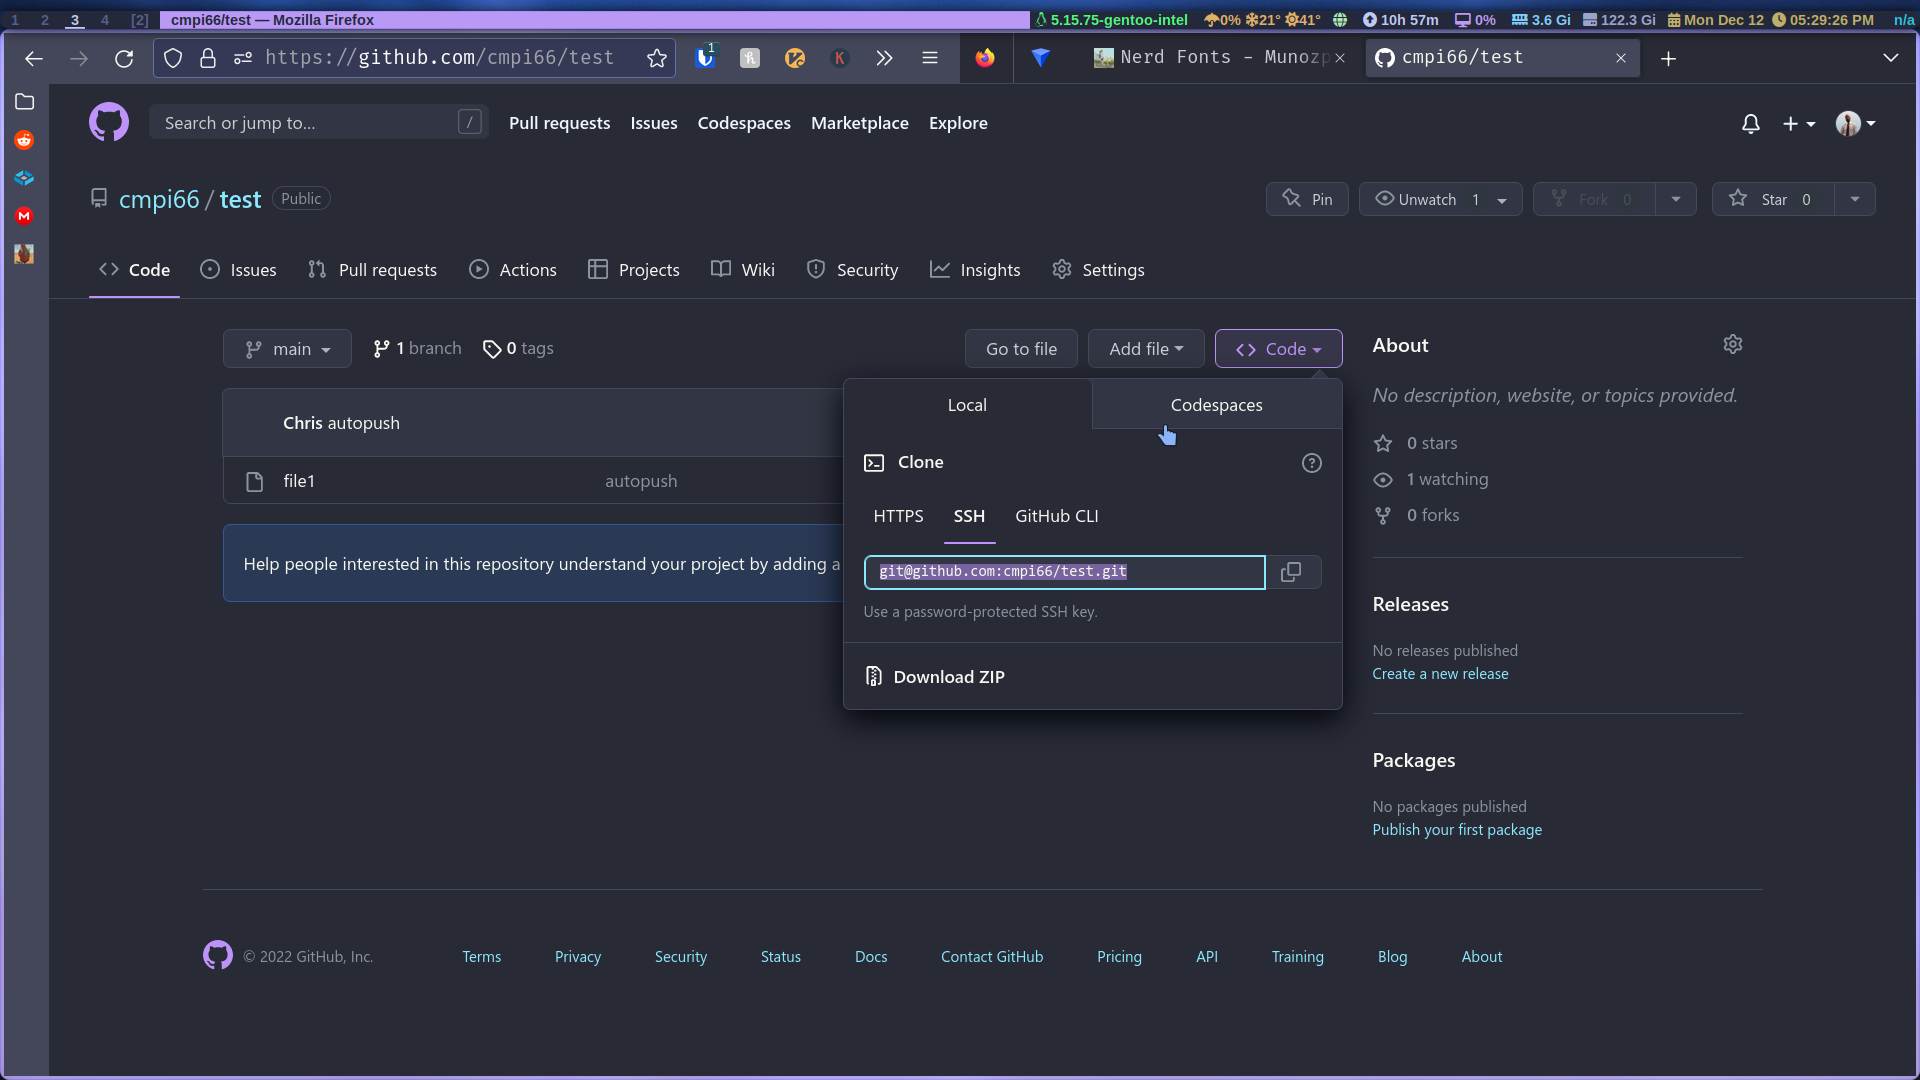
Now go to the test repo on github and copy the ssh remote url:
Back on your local machine go back to the test repo. Run this command to delete the HTTPS remote URL:
git remote rm origin This deletes the remote URL called origin, remember earlier when we added it was called origin. Again this is something you can name whatever you want.
Add the ssh URL:
git remote add git@github.com:YOURNAME/test.git pay attention to this naming scheme, it’ll be the same for any remote ssh location, here’s gitlab’s: git@gitlab.com:YOURNAME/repo.git
Make a new change to file1 so you’re able to push and then run the same commands as before: git add file1 git commit 'changes' ``git push. That’s it. You’ll be prompted to accept the key sine its the first time we’re pushing with ssh, but after that it’ll just push.
If you want to add all changed files run git add . the rest stays the same.
That’s it, a brief tutorial to get you up and running with git, now you can keep backups of all your config files. And if you want an easier way to do that read my stow artilce.
Comments