A fun and easy guide to run a NAS on a Raspberry Pi 4.
What you’ll need:
- RPI4
- SSD for data
- USB to SATA cable for SSD
- SD card for OS
- RPI-imager
Installing RPI OS
First download RPI-imager on your local machine and install Raspberry pi OS choose Raspberry Pi os (other) and flash your SD card with Raspberry pi OS Lite (32-bit).
Click the gear icon and enable SSH and input your password. If you don’t have an Ethernet cable connected to your Pi, this is where you can add your WiFi settings.
Once that’s done reboot your Pi with your SSD and SD card connected. Get it’s local IP from your router and SSH into it with ssh pi@IP or whatever username you chose.
Tweaking some settings
Update to the latest packages sudo apt update && sudo apt upgrade -y.
Remove the network link, if you fail to do so then the Pi won’t boot back up after we install the NAS software: sudo rm -f /etc/systemd/network/99-default.link.
Reboot the pi: sudo reboot.
Installing open media vault (OMV)
Open media vault is the software that’ll run our NAS. It’s one long command so make sure you copy it exactly:
1wget -O - https://github.com/OpenMediaVault-Plugin-Developers/installScript/raw/master/install | sudo bash
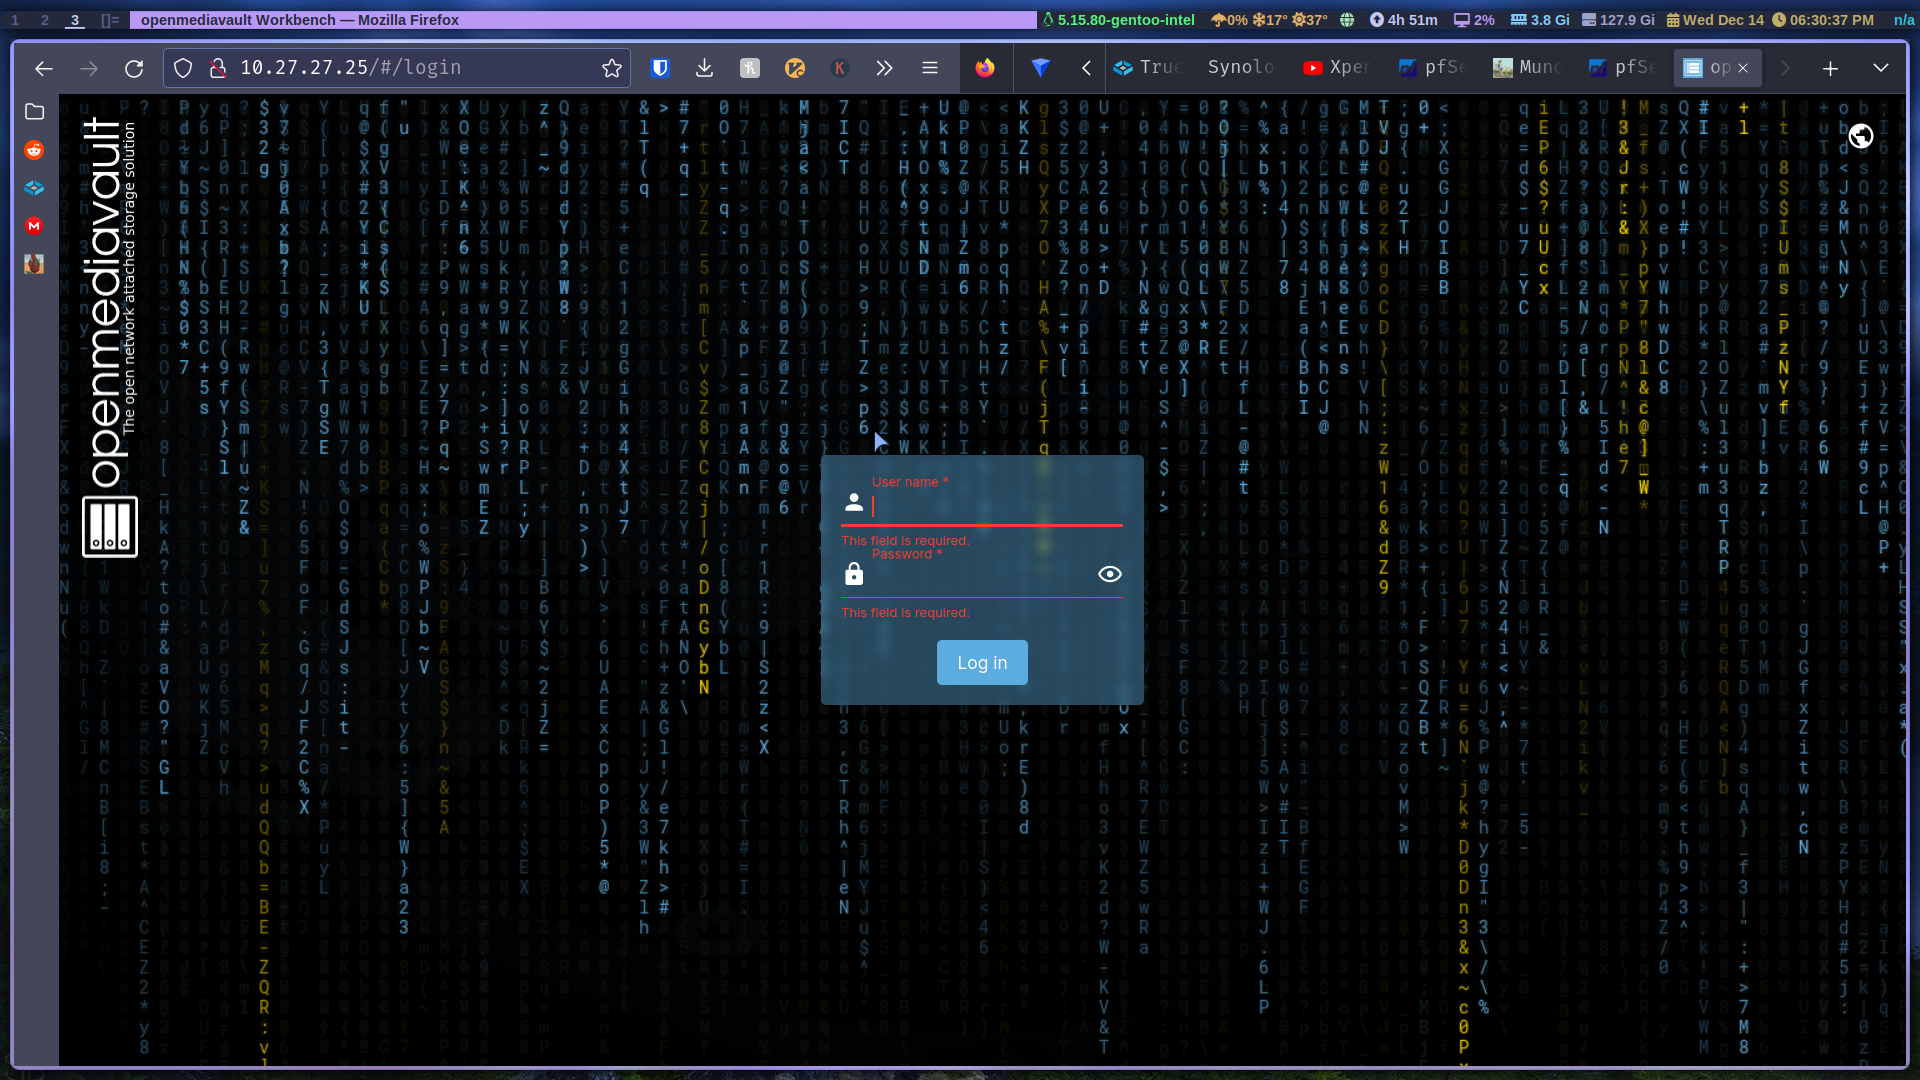
This command will take around 15-20 minutes so take a break and come back to it. Afterwards your Raspberry pi will reboot and it may change its IP address so go back to your router’s settings and find it again. With that IP you now have access to the OMV web interface. The default credentials are:
User: admin
Pass: openmediavault
Exploring OMV
Let’s change our password first, on the top right go to user settings and change password. Most of the settings are intuitive; you can shut down or reboot the PI from here too.
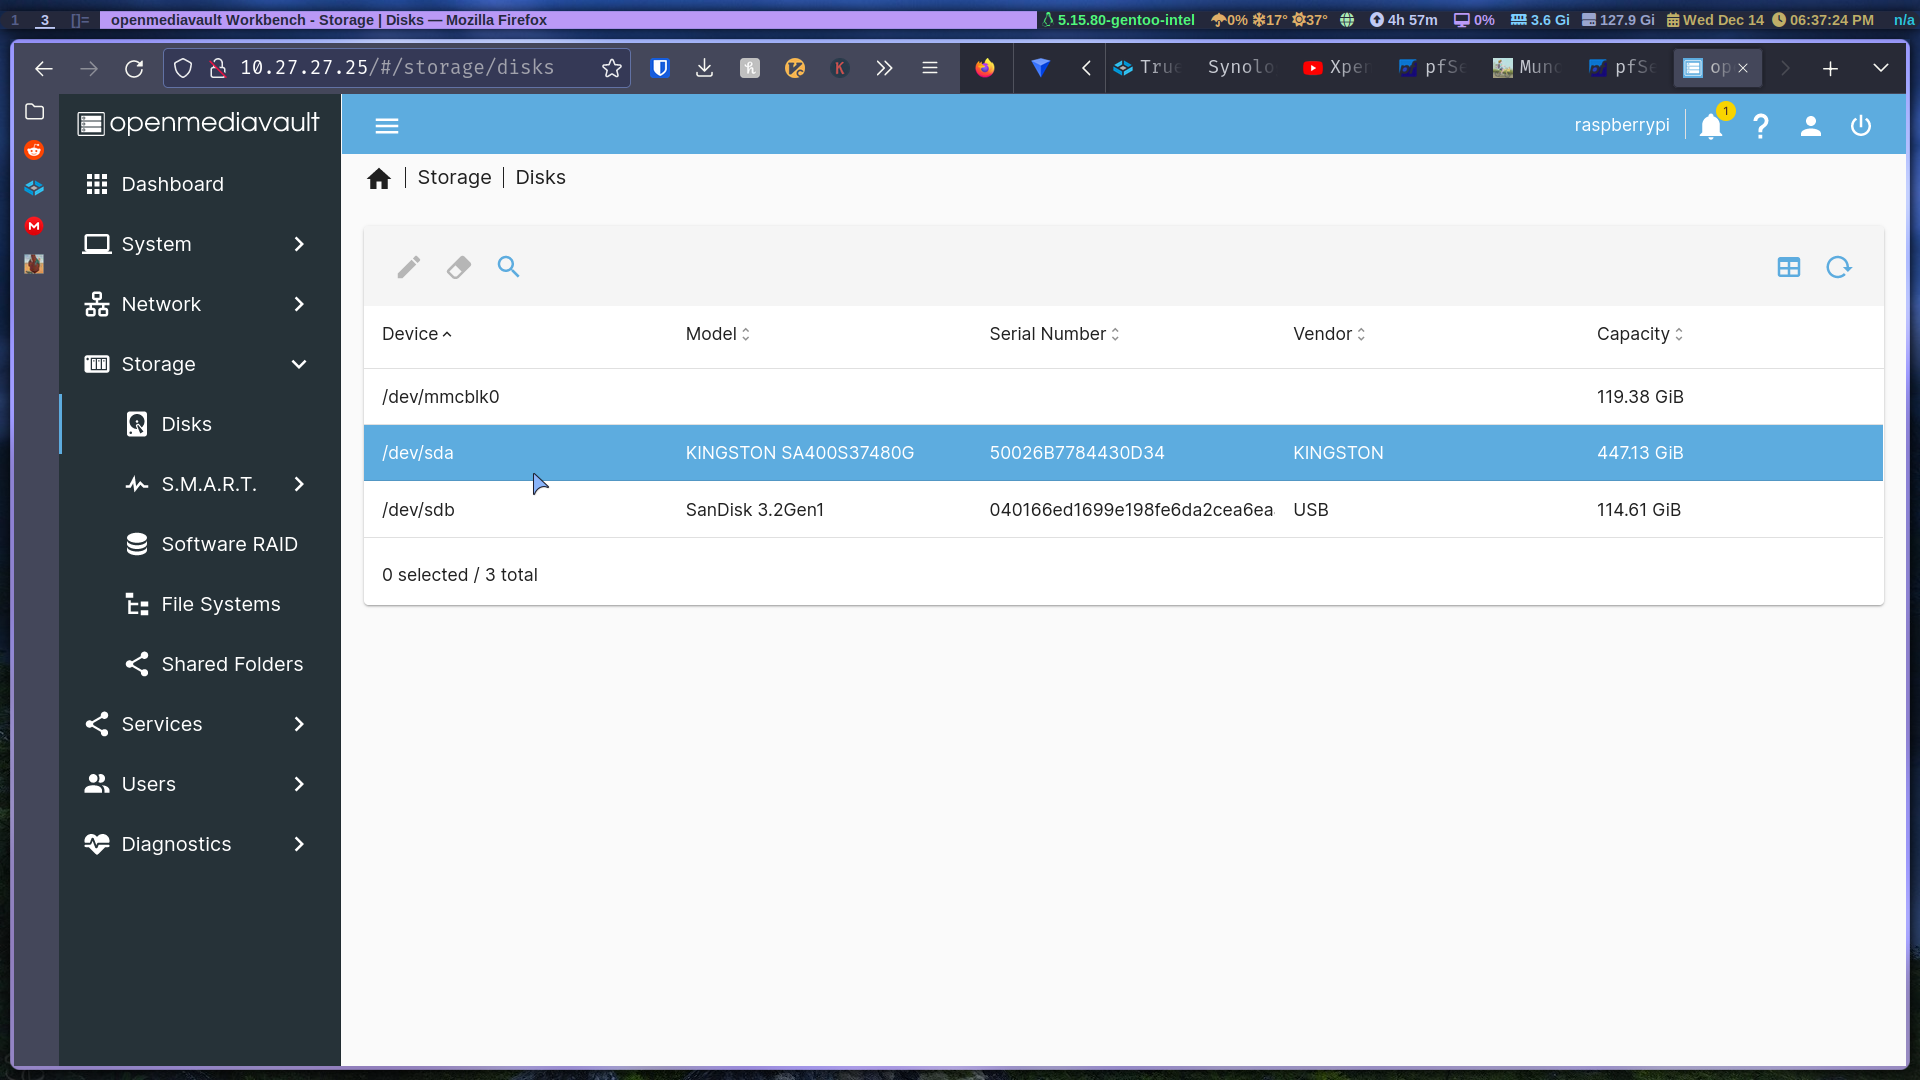
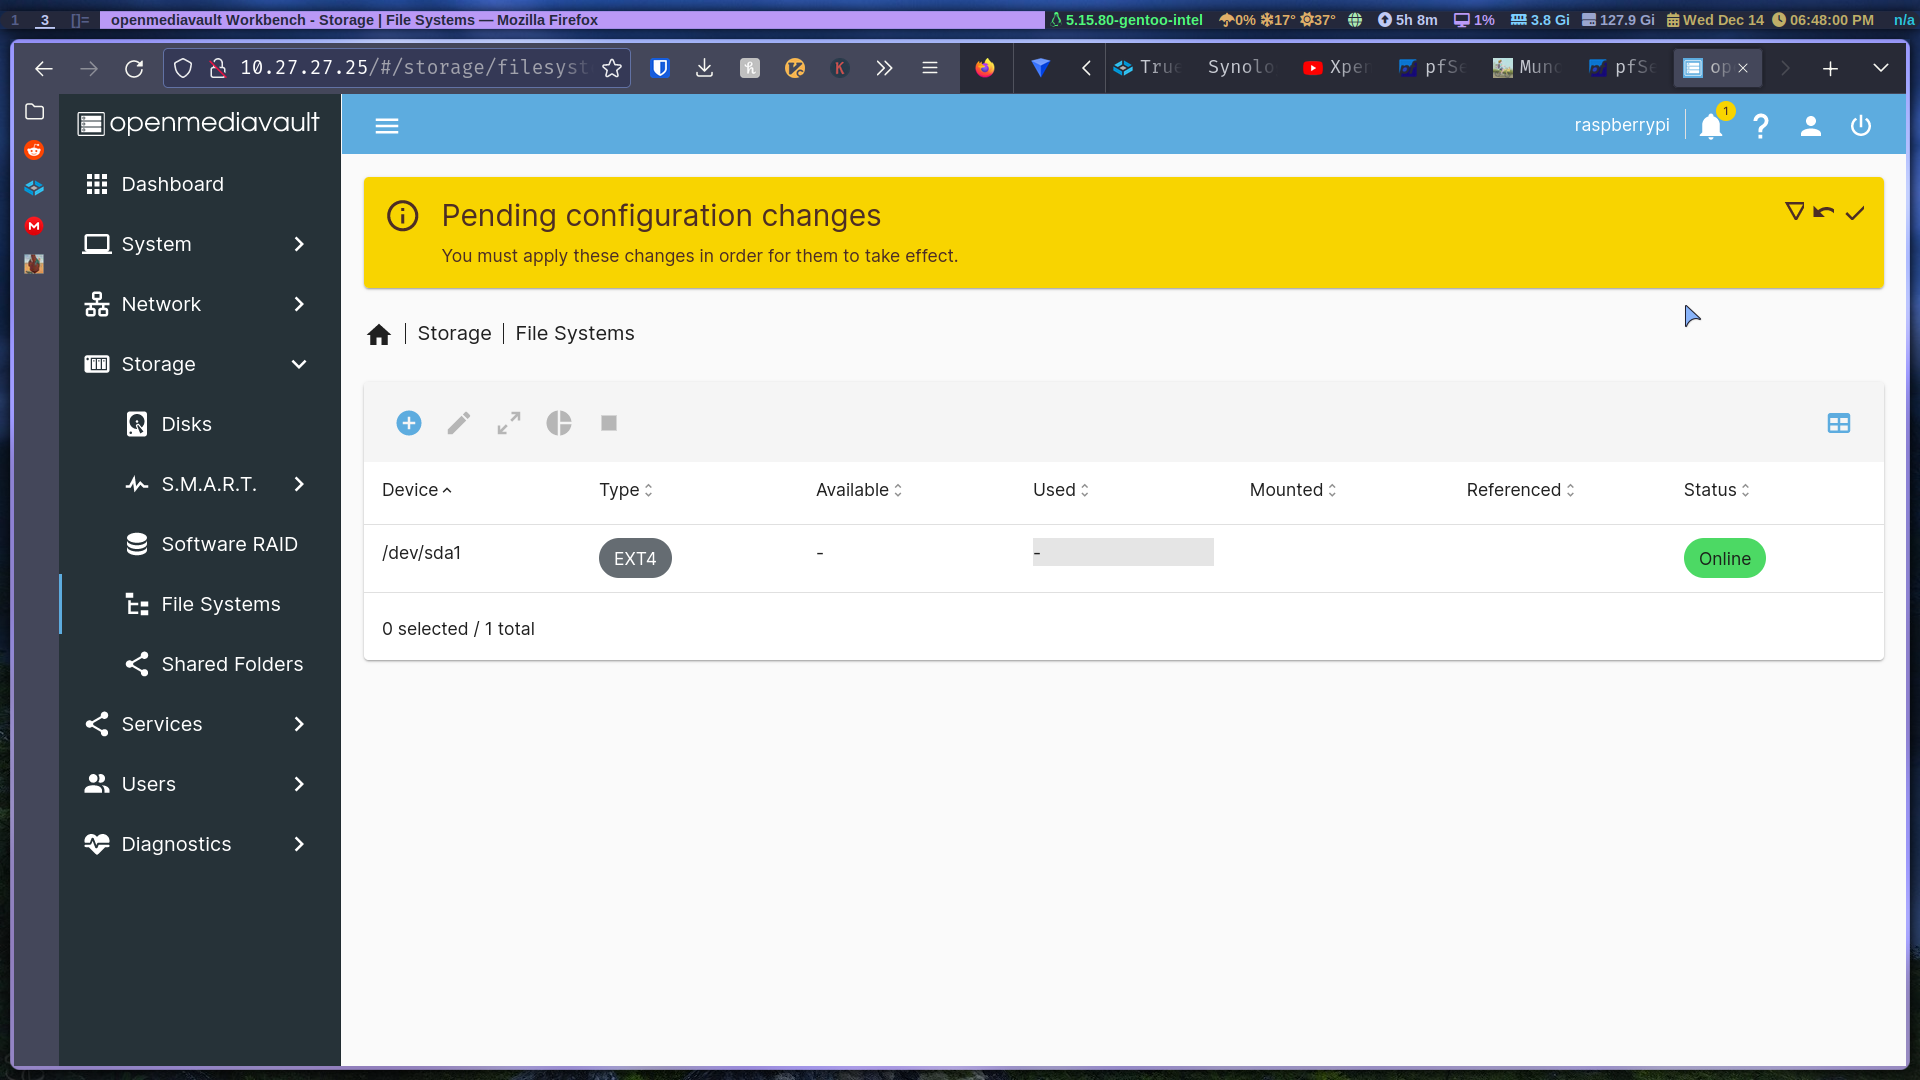
Now it’s time to set up our NAS drive. Go to storage and then disks, your SSD and SD card should show up here.
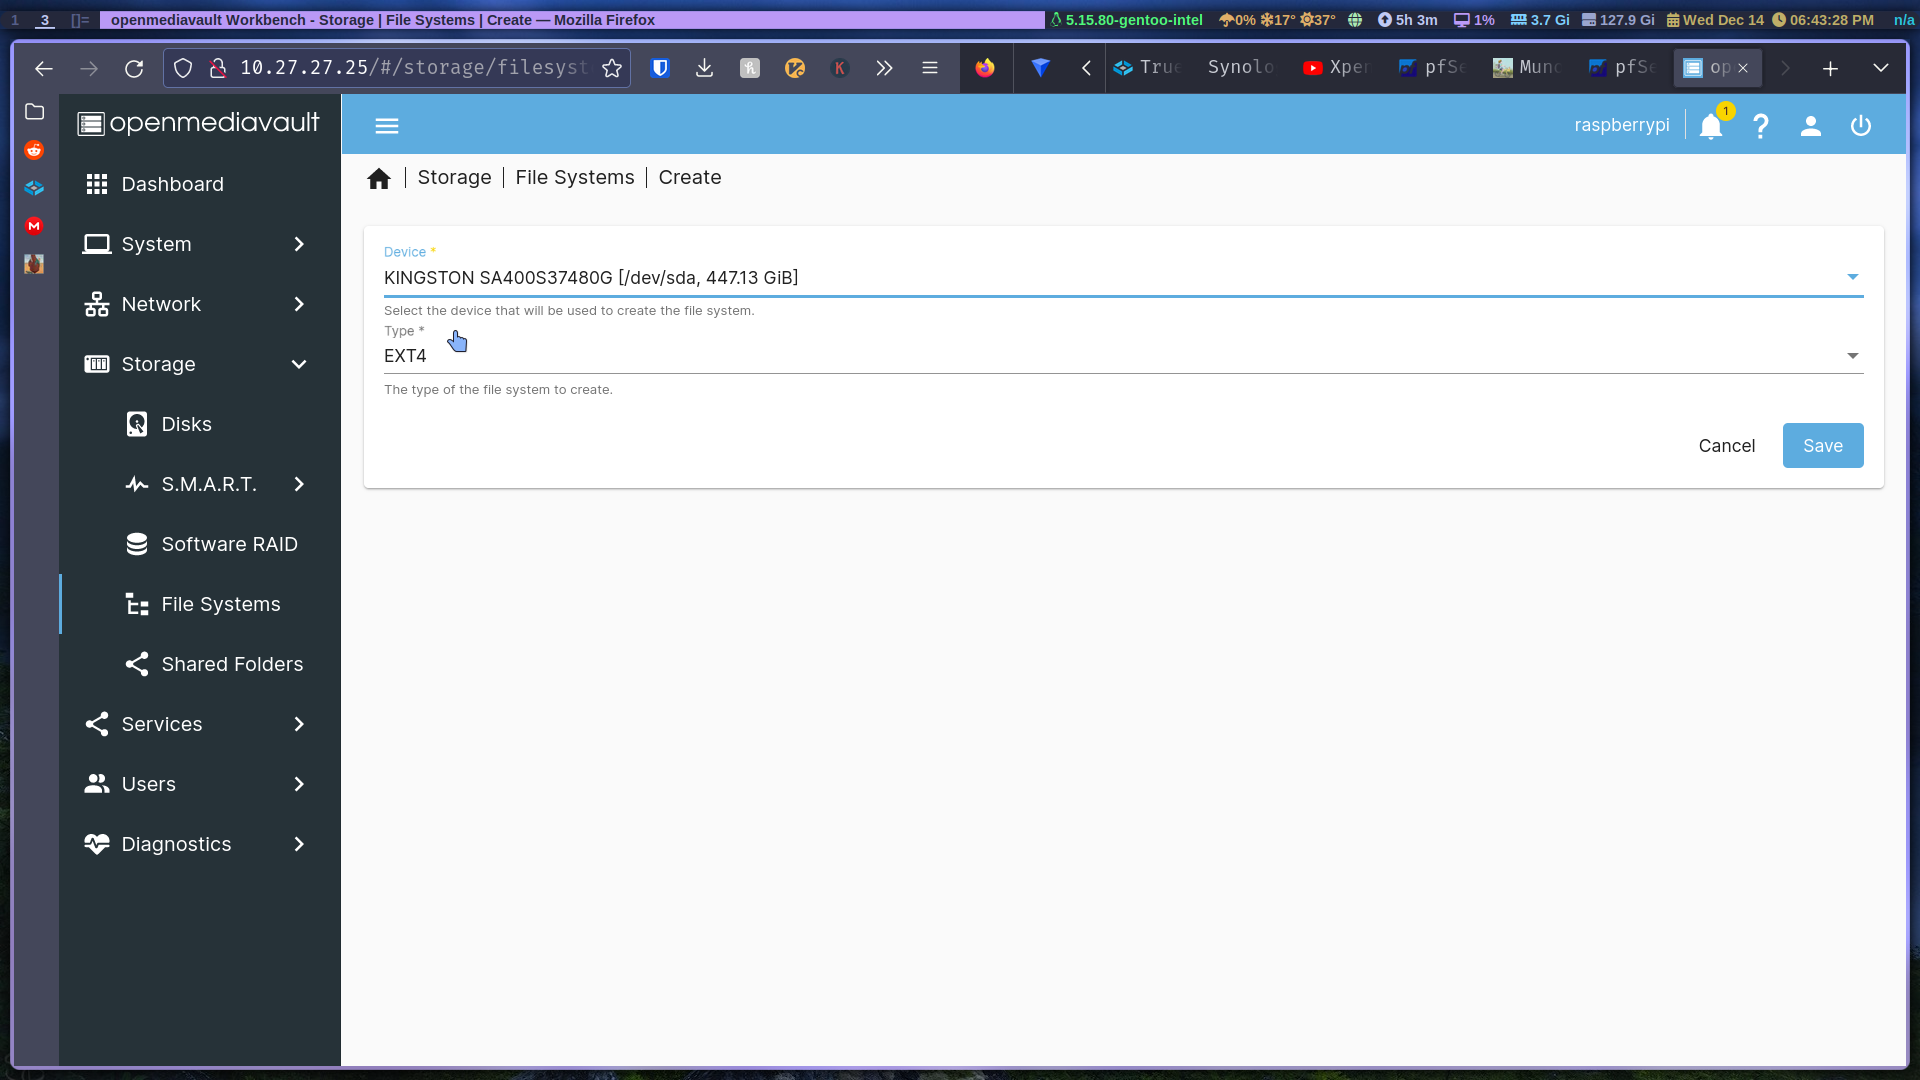
Go to file systems and click create, choose your SSD and keep the default ext4 file extension.
Then mount your file:
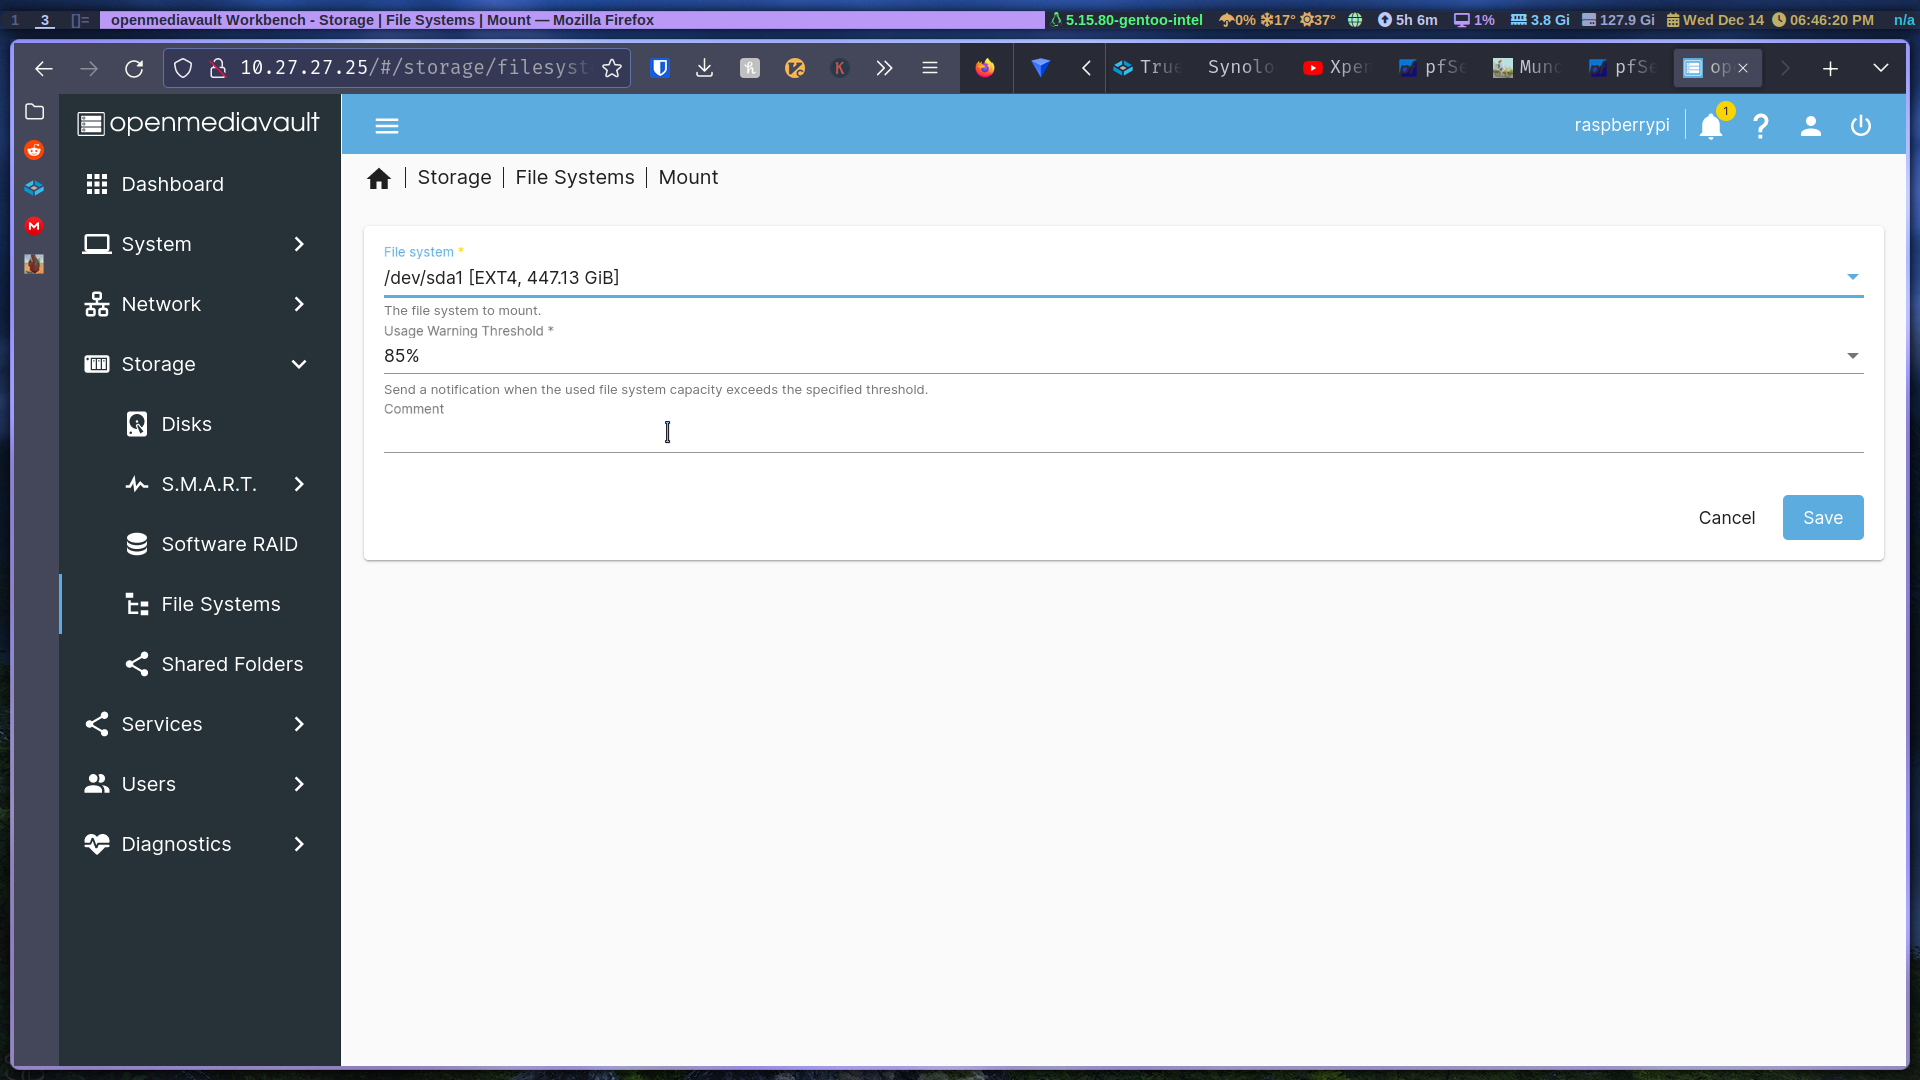
Make sure you always apply the changes every time you get the prompt.
Create a shared folder by going to storage, shared folder:
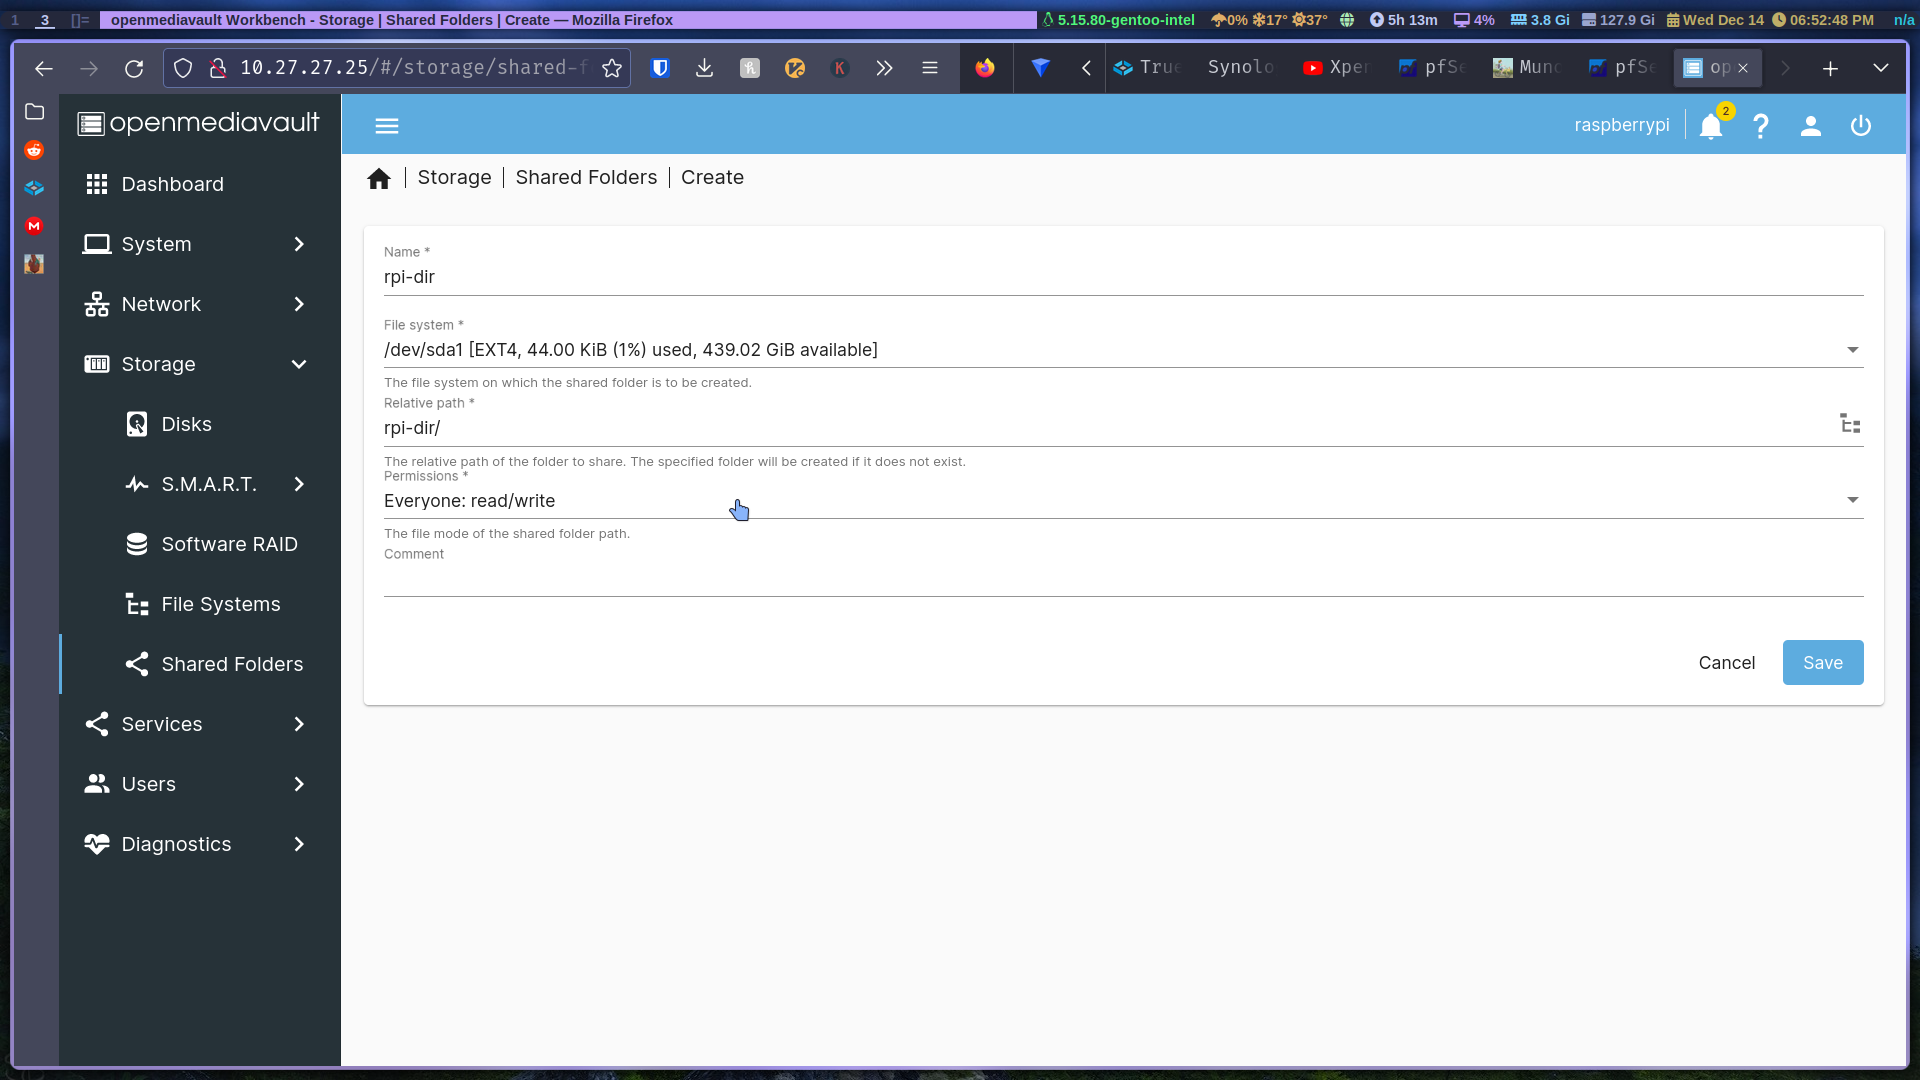
Choose the SSD and name it whatever you want.
We’re almost done, now let’s add some sharing services.
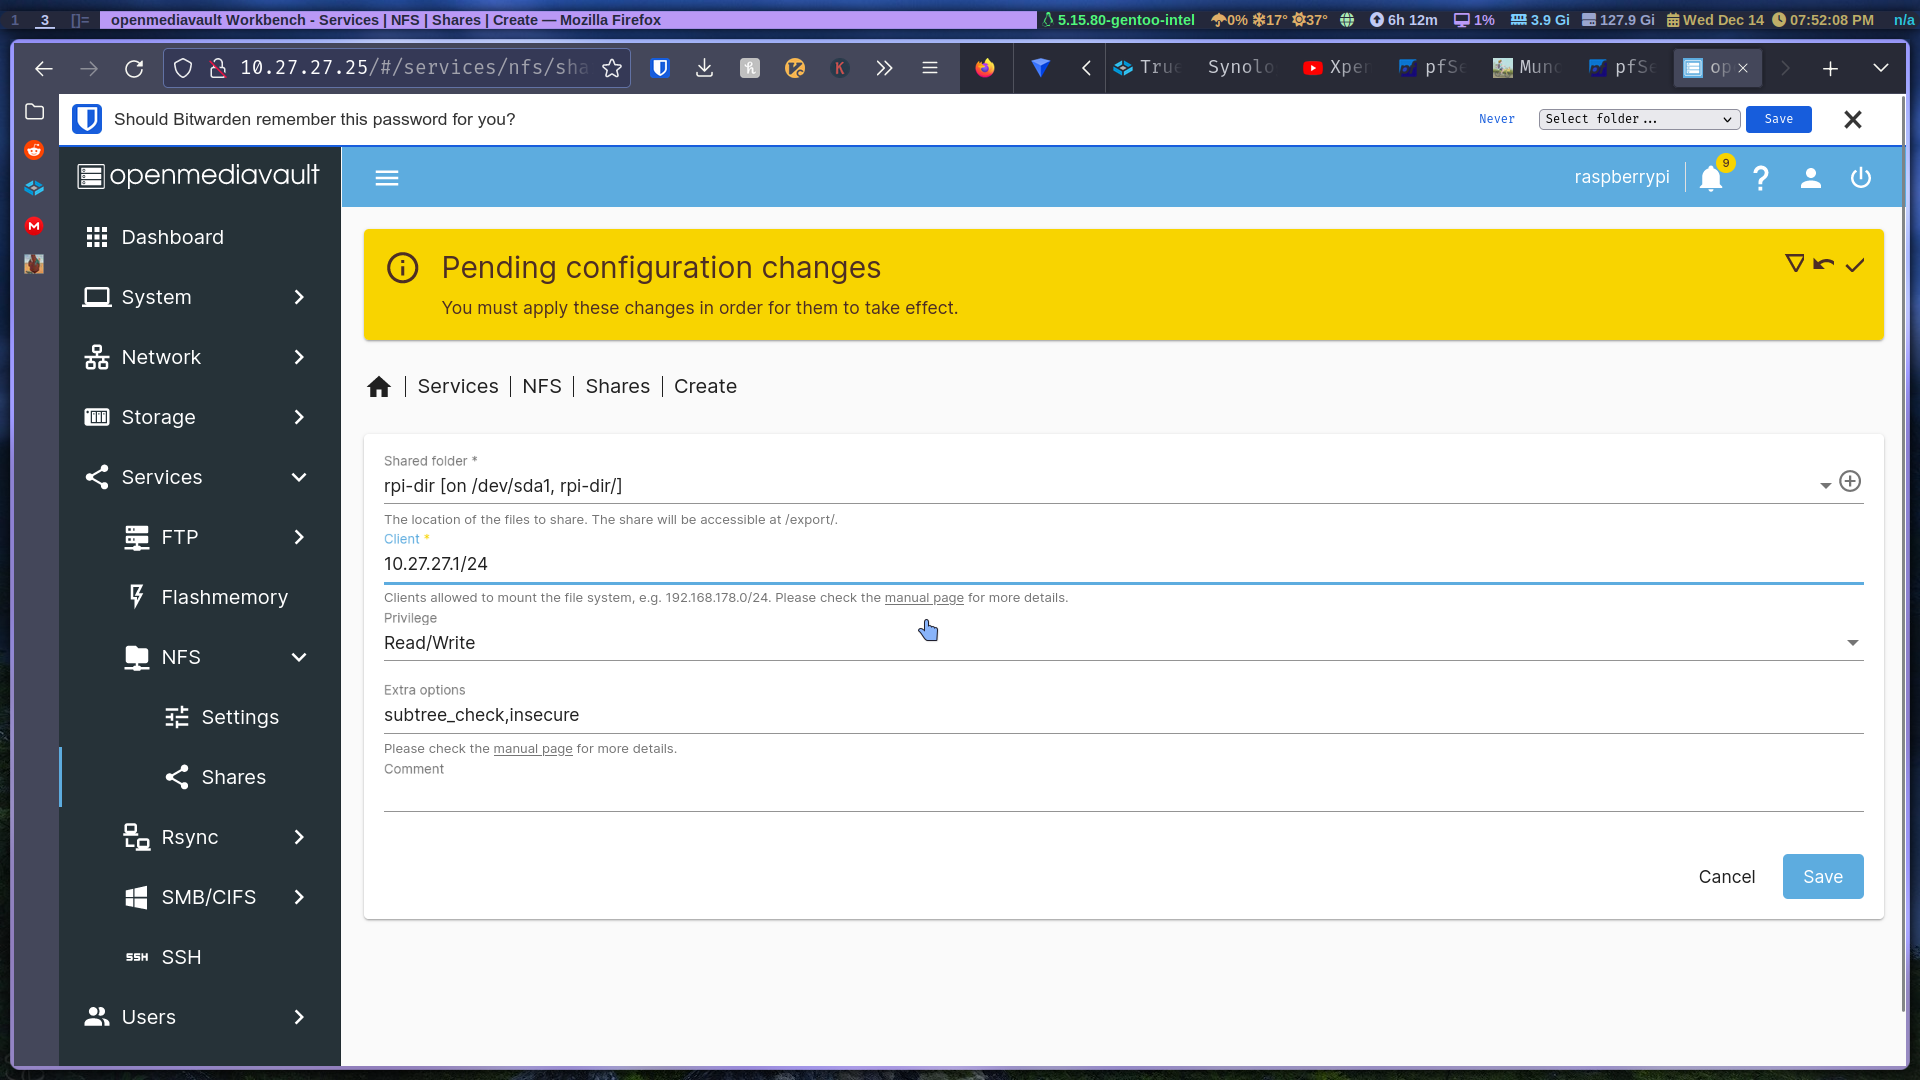
- NFS: Since I’m on Linux I’ll show you how to mount an NFS share. Go to services and enable NFS. Then add the share we created earlier, add your IP subnet like so:
Let’s go to our local machine and create a mount point for our share:
Install nfs-utils if you don’t have it.
sudo mkdir /mnt/share
Mount the share:
sudo mount -t nfs 10.27.27.25:/rpi-dir /mnt/share
Obviously you would use your IP and whatever you named the share. Other than that, you’re connected.
For windows users:
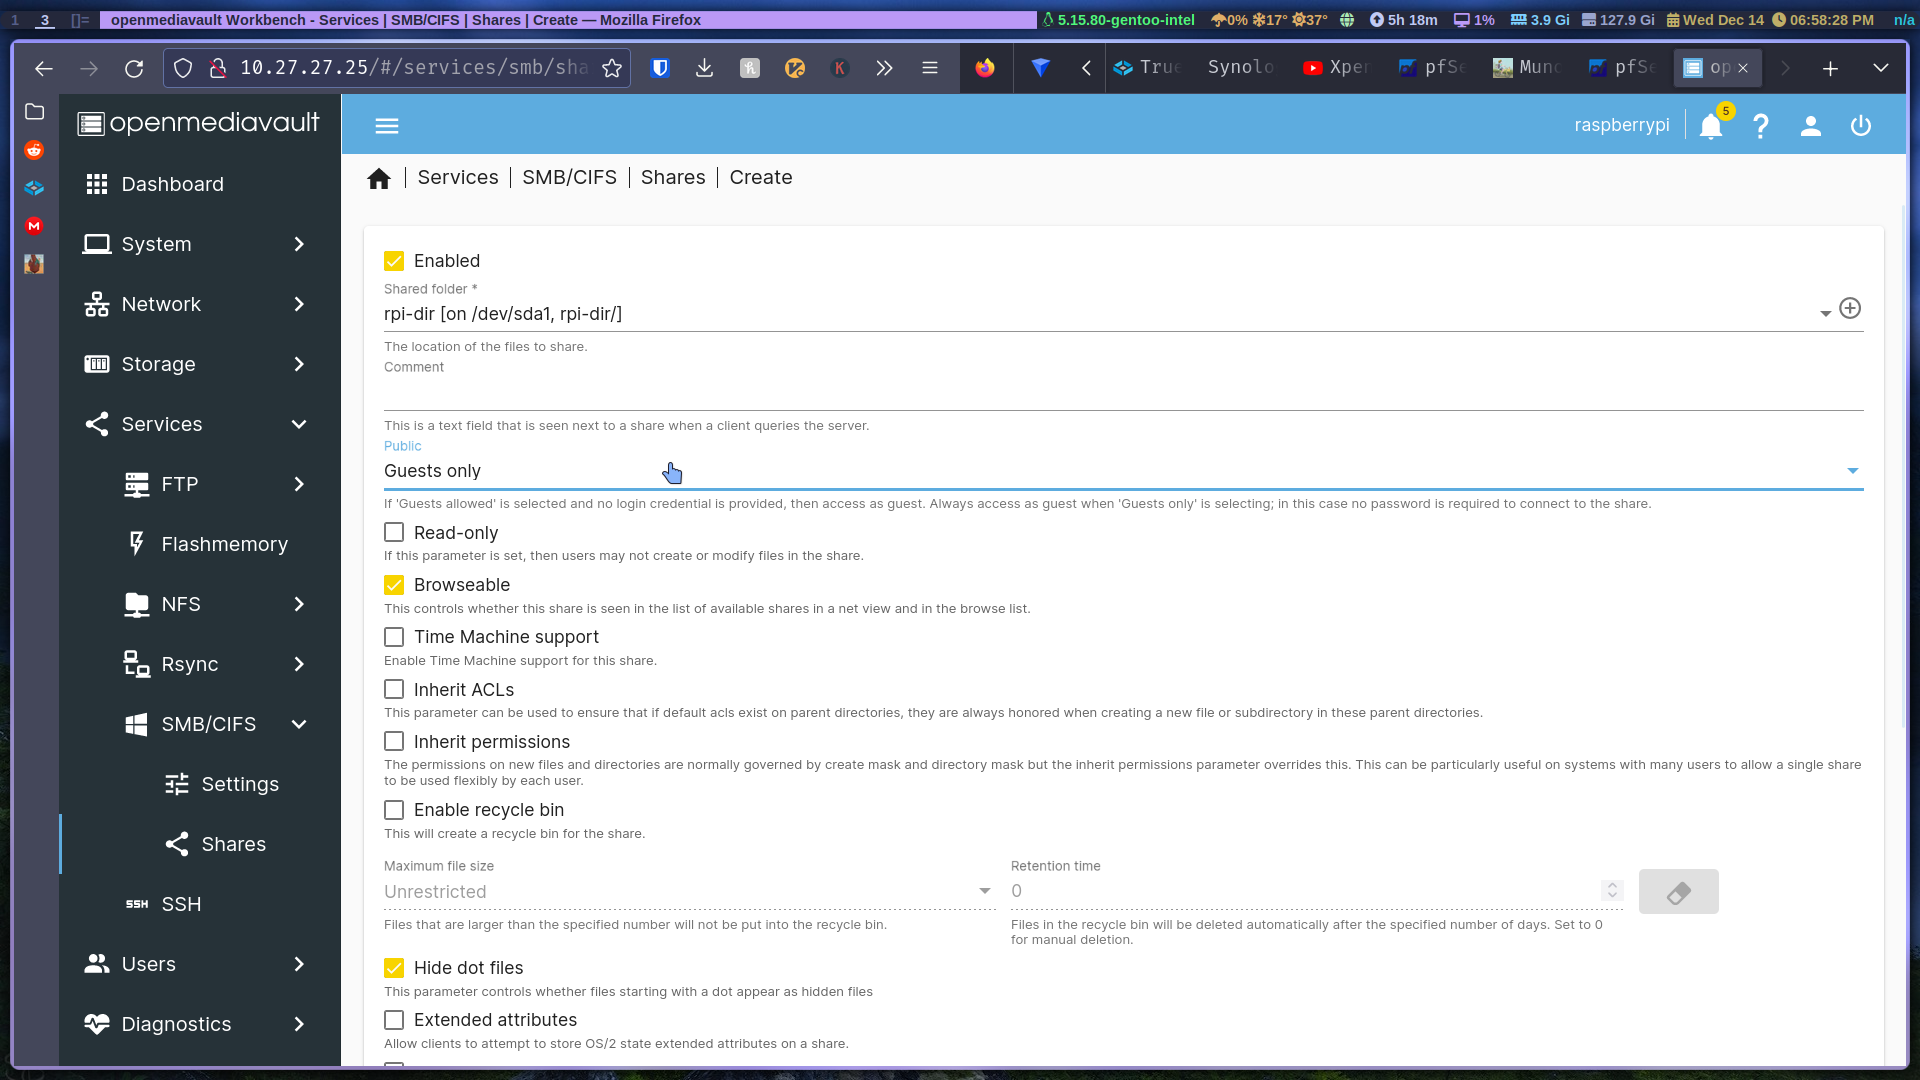
- SMB: go to the services section and enable it. Add the shared folder and allow only guests and leave everything else as default. That’s it, you can now access your SMB share.
I don’t have a windows installation right now to show you how to mount an SMB share, but its pretty easy, only takes a few steps.
And that’s how you can turn a Raspberry pi into a NAS. But that’s not the only thing OMV can do, it can do so much more, spend some time and play around with it.
Comments