In this guide, I’ll show you how you can turn a Raspberry Pi 4 into a small home server to self-host a bunch of services with docker and portainer.
Docker is a way to containerize applications, and keep them separate from each other. For example, an app could need dependency X ver1 and then another app could need that same dependency but version2, that’ll cause conflicts, and you won’t be able to run both apps on the same machine. But with docker, you can spin up multiple containers that don’t conflict with each other.
Containers also require less resources to run, so with a small Raspberry Pi we can run a decent number of services without it straining the PI. In this guide, I’ll be using a Raspberry Pi 4 with 4gb ram.
Install raspberry pi OS and docker
First download rpi-imager on your local machine and install Raspberry Pi OS lite (32bit). Click the gear icon, enable SSH and create a password for the pi user. Make sure your Pi is connected through an Ethernet cable for best performance.
Once that’s finished ssh into your pi:
ssh pi@IP
Update the pi:
sudo apt update && sudo apt upgrade -y
Reboot the pi after the upgrades. Install docker:
1sudo curl -sSL https://get.docker.com | sh
Add the user to docker group:
1sudo usermod -aG docker USERNAME
Logout and log back in for the changes to take effect. Run docker version to make sure you can run docker without sudo.
Install portainer with docker:
1sudo docker pull portainer/portainer-ce:latest
1sudo docker run -d -p 9000:9000 -p 9443:9443 --name=portainer --restart=always -v /var/run/docker.sock:/var/run/docker.sock -v portainer_data:/data portainer/portainer-ce:latest
The first command is pulling the latest portainer image. The second command is what’s running the image with docker: it’s mapping the ports, and the data drives from our Raspberry Pi to the container. Don’t worry, once it’s done, you won’t have to use the command line to run docker. You can use the portainer web interface to launch your containers. But you should learn how to spin up docker containers through the command line.
Run docker ps and you’ll see the active containers, we only have one. With your ip address go to the portainer UI:
1https://10.27.27.24:9443
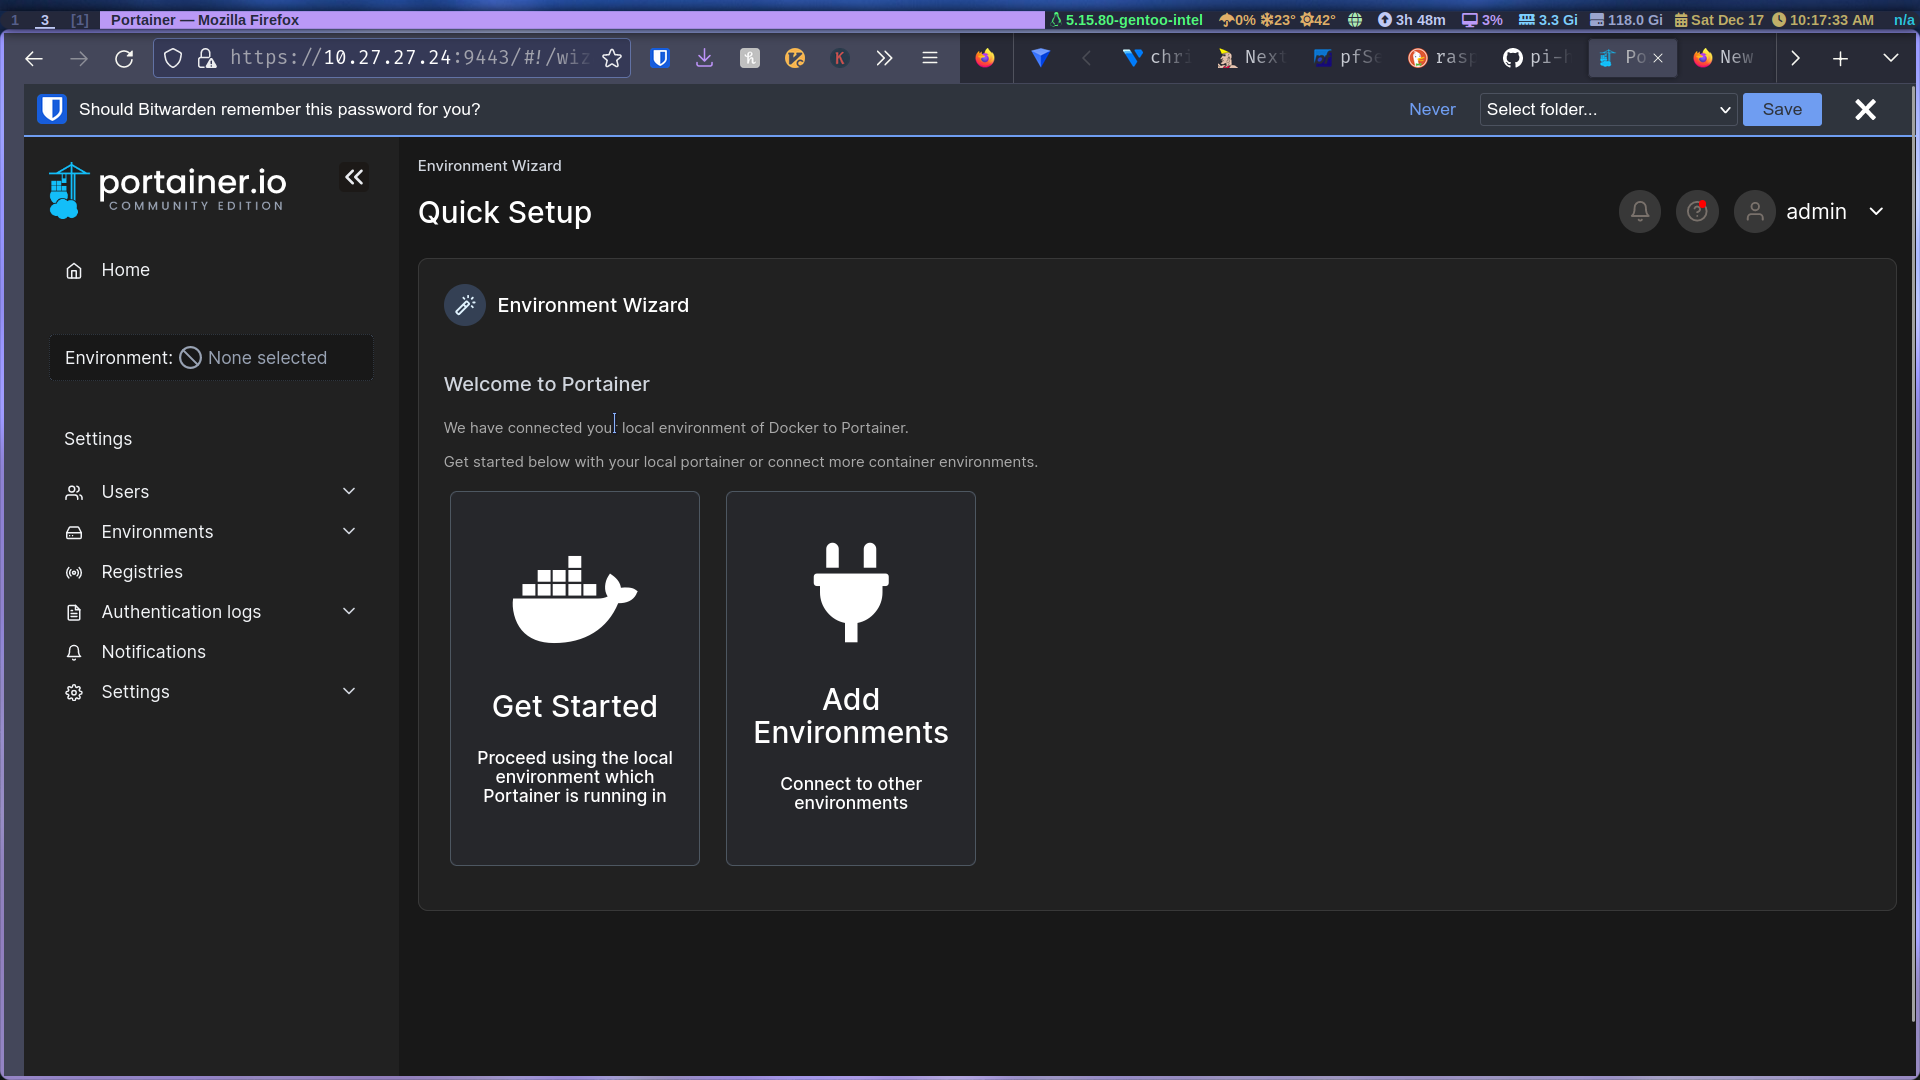
We’re connecting on the 9443 port we mapped earlier, you’ll get a certificate warning, click advanced and accept risk and continue. The reason your getting that is because we created a self-signed SSL certificate.
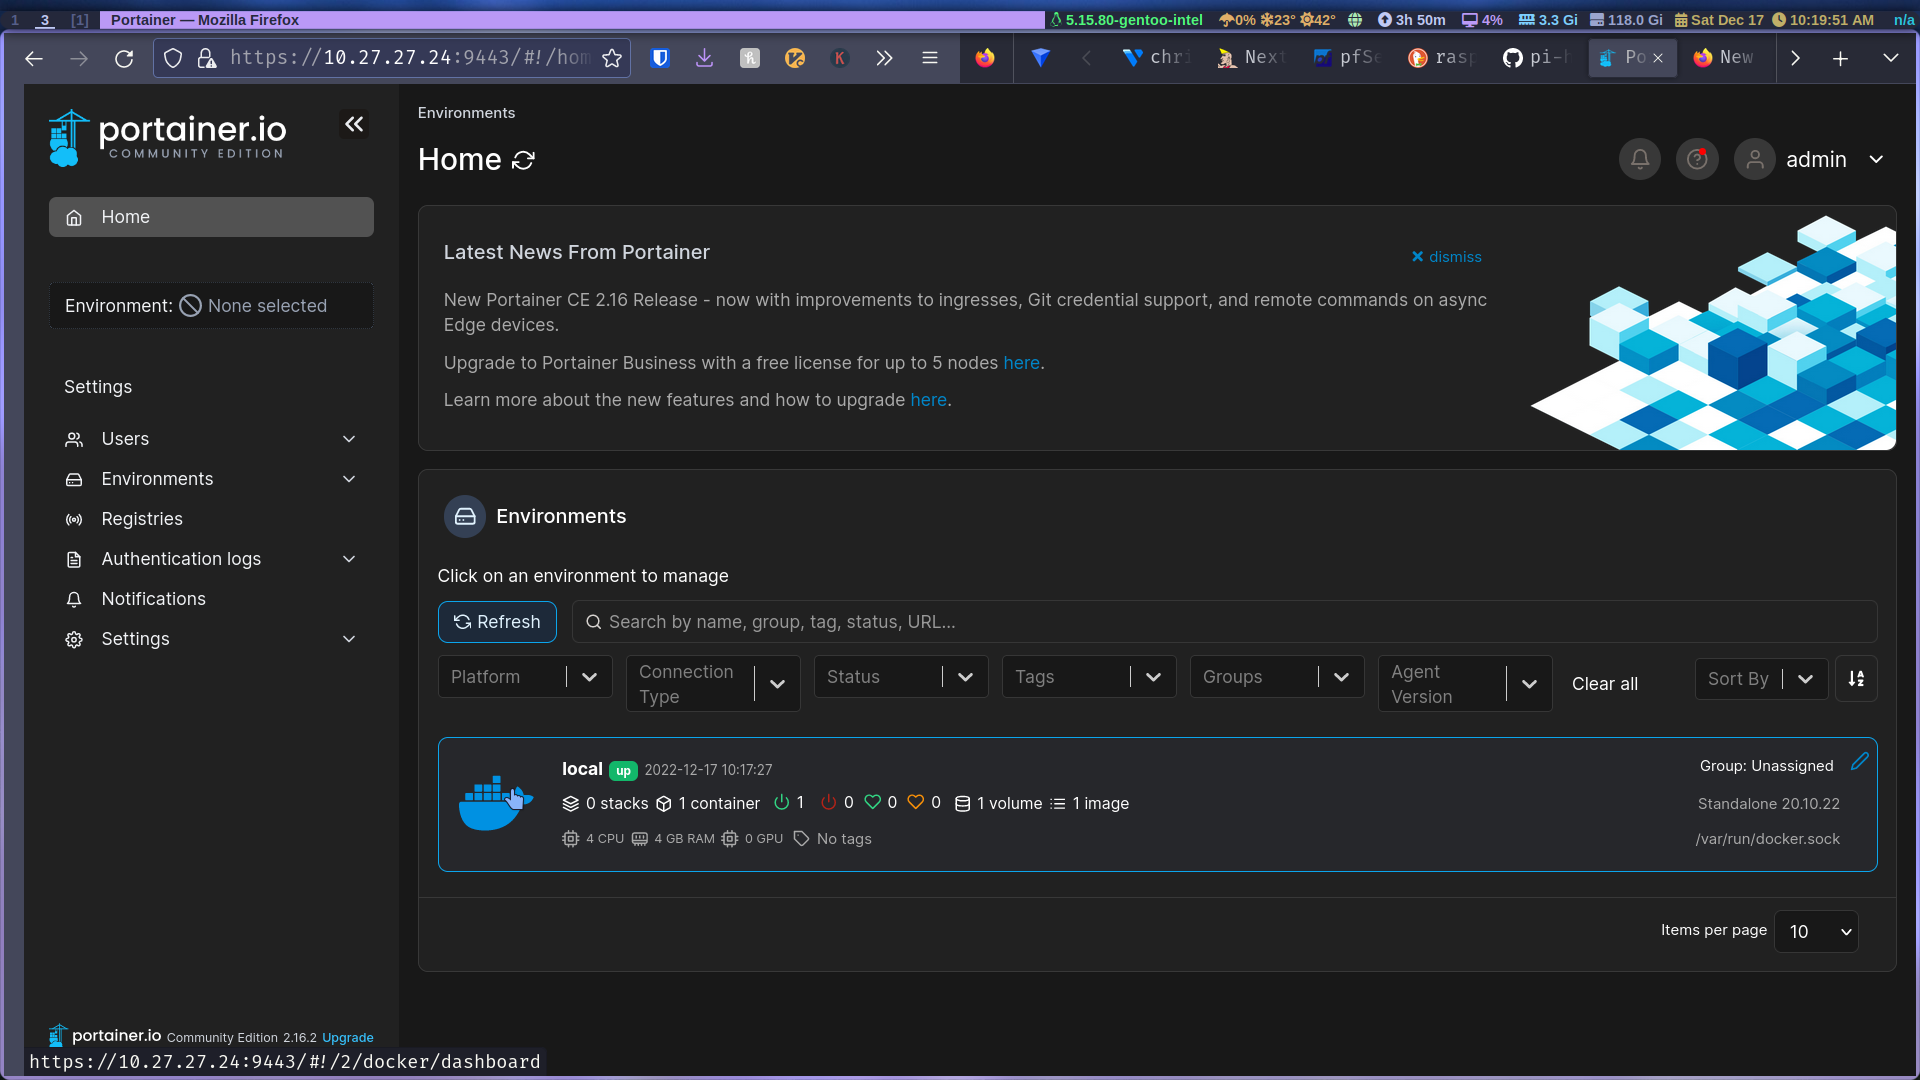
Create your username and password. Click get started and you’ll see your raspberry pi instance, click on it and go to containers and portainer itself will be a container. This is where all your containers live.
installing containers
Let’s add an application list that’ll give us more apps to add. Go to settings on the bottom left, add this template then save settings:
1https://raw.githubusercontent.com/pi-hosted/pi-hosted/master/template/portainer-v2-arm32.json

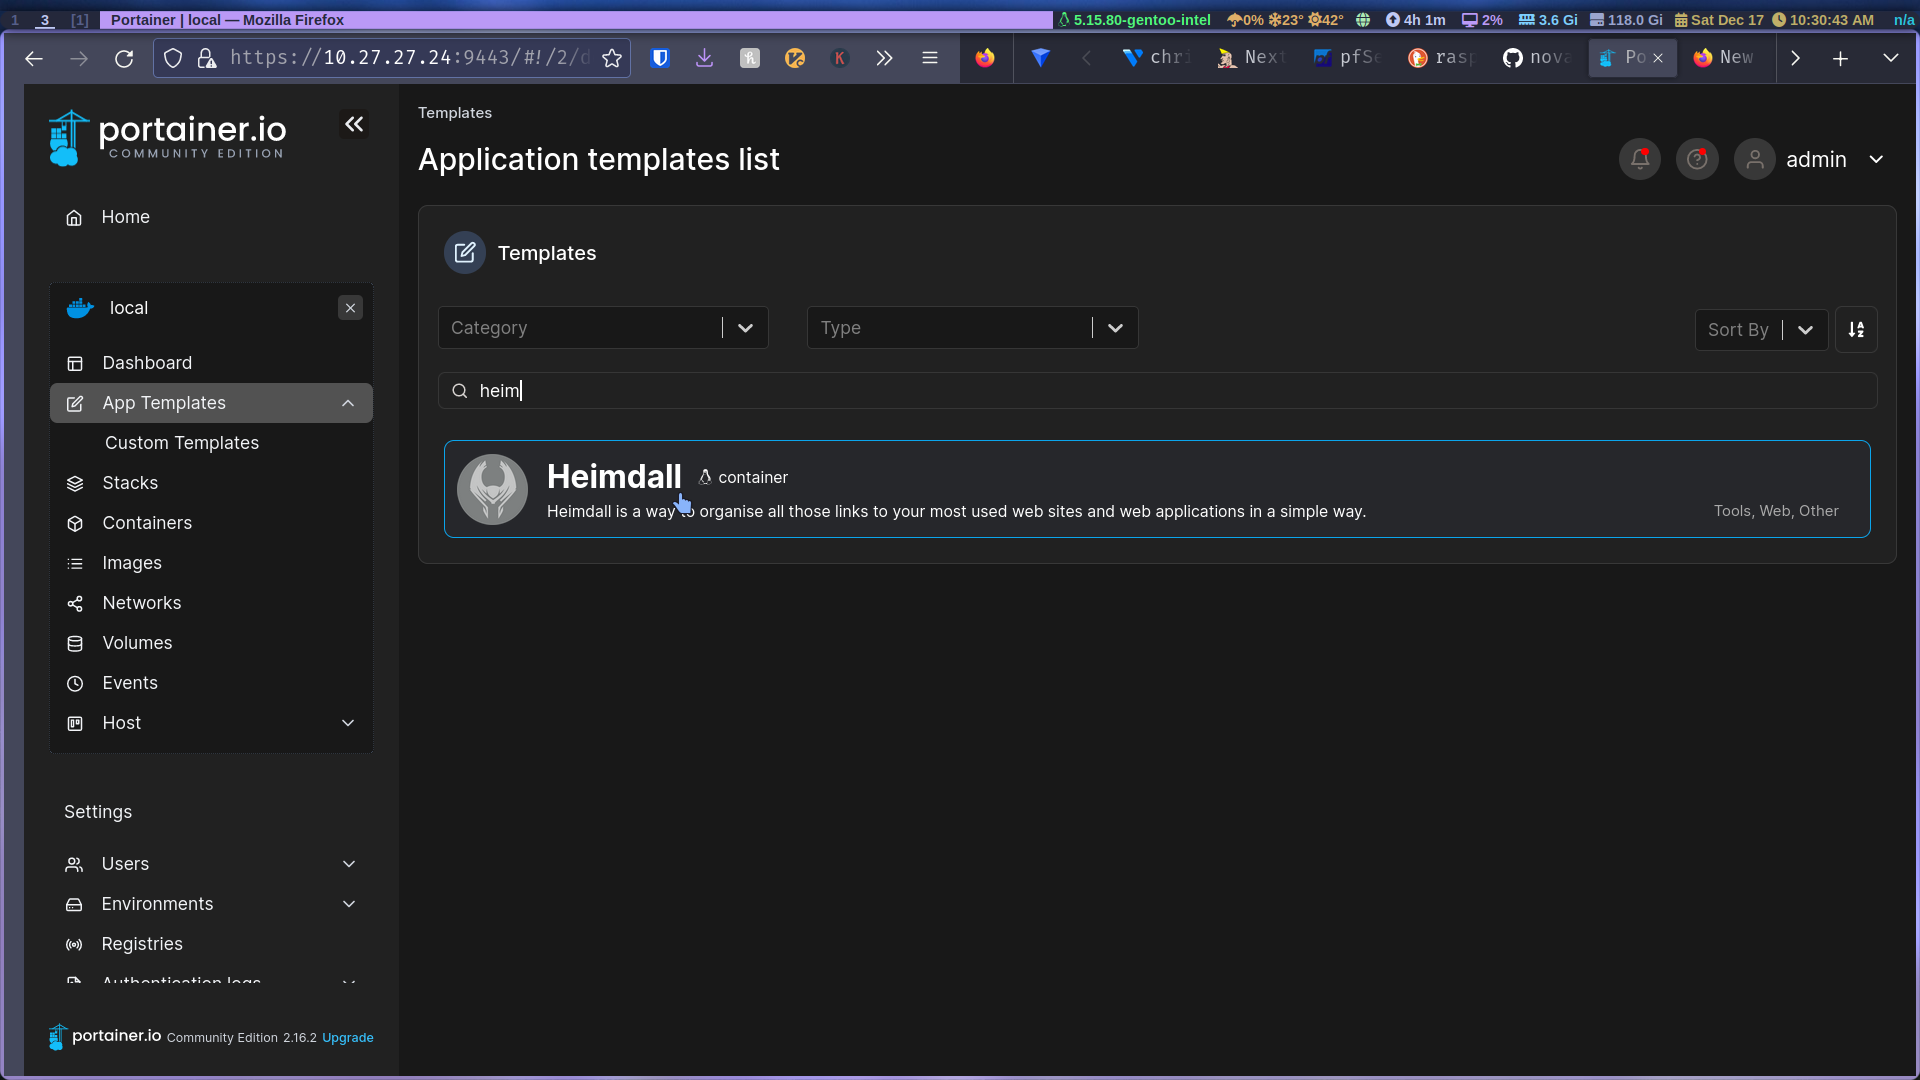
Go to app templates and now there’s a bunch of apps that you can install. I’ll go over installing one for now.
Let’s do a simple dashboard where we would have quick access to all our containers.
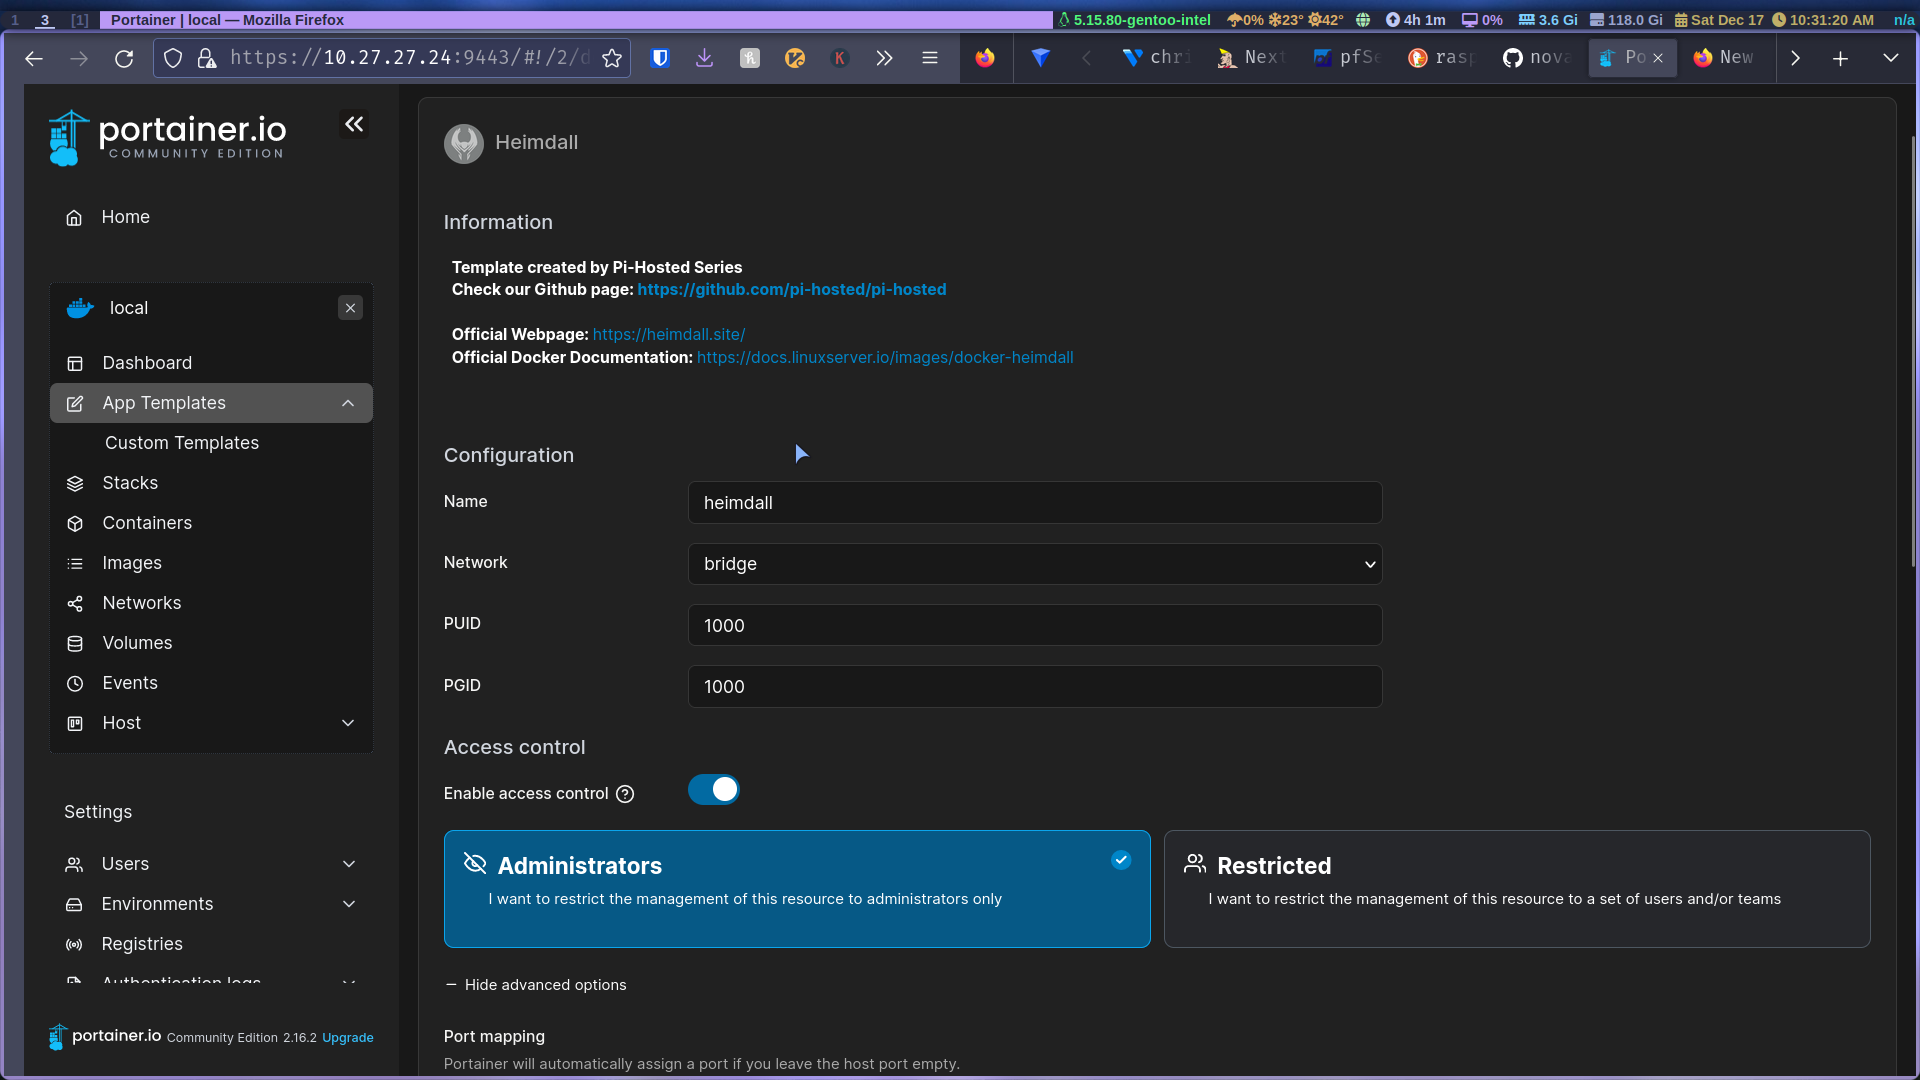
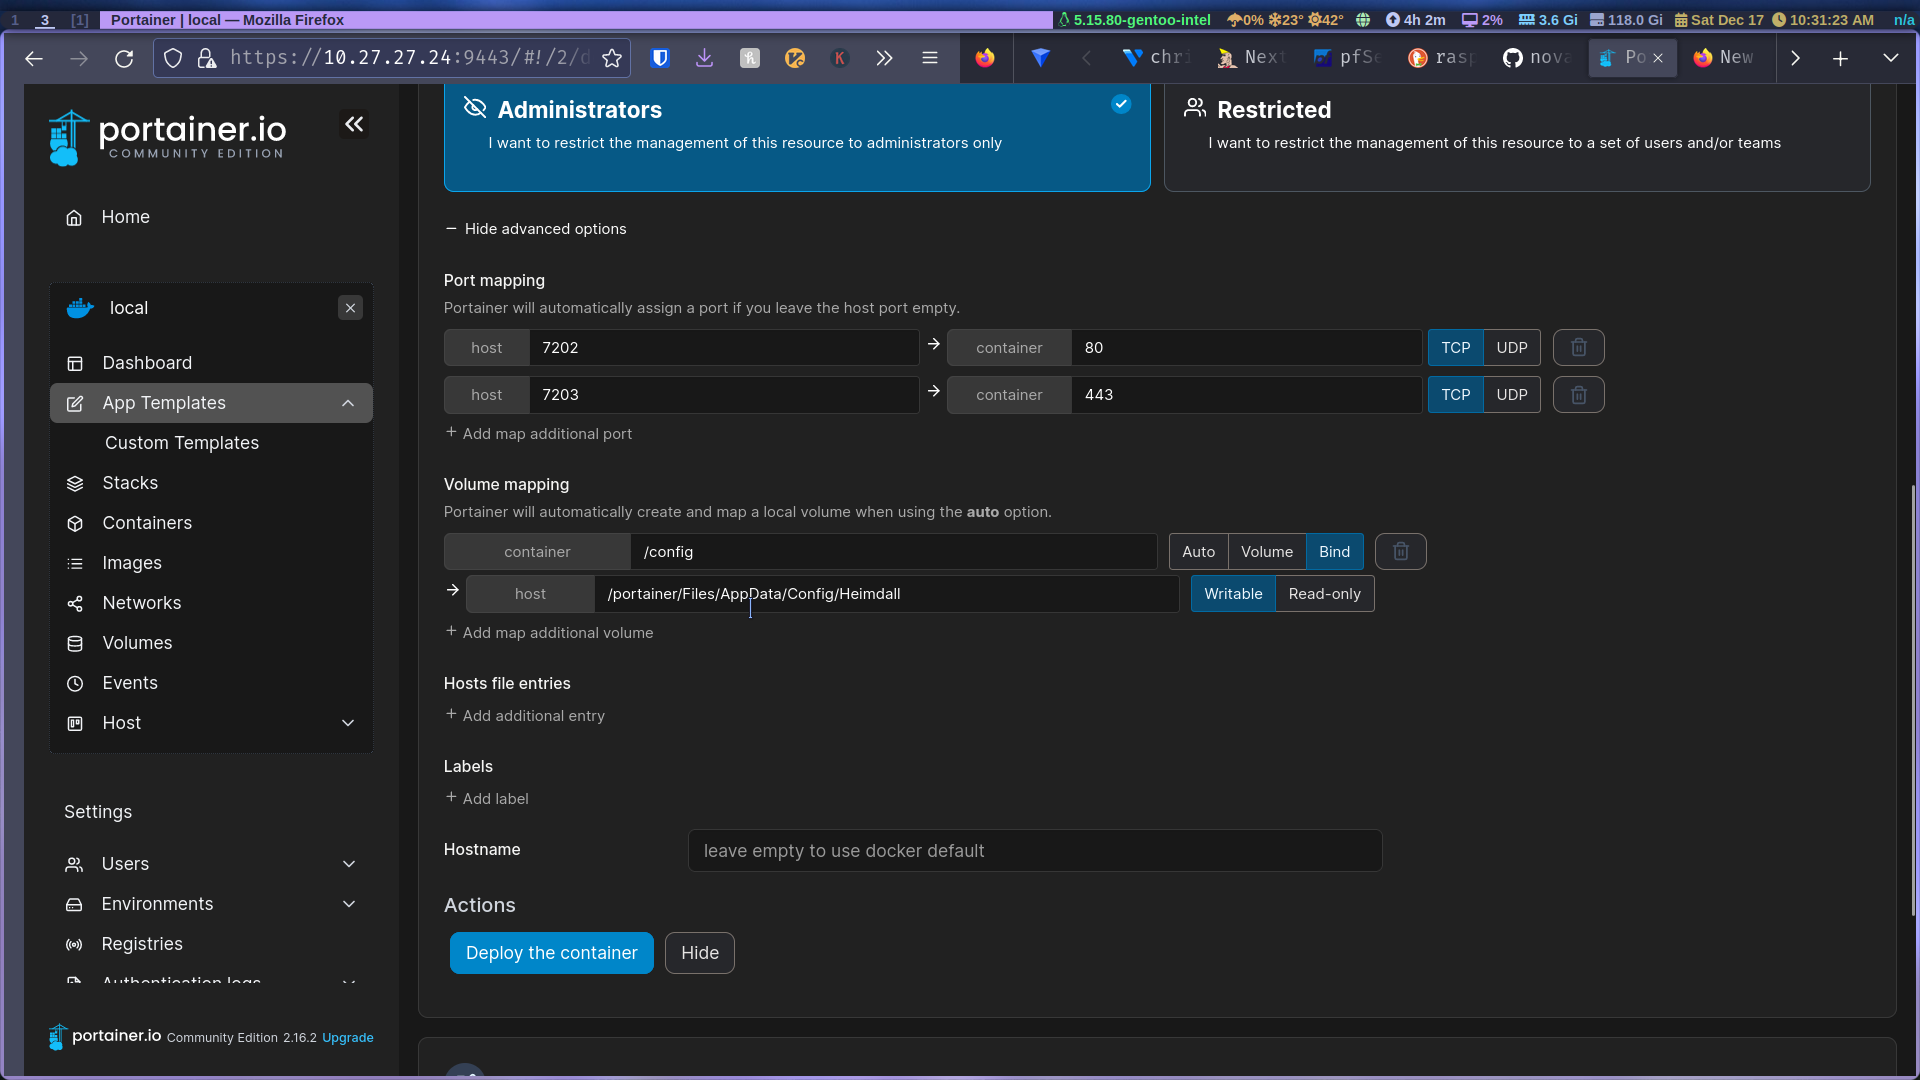
Go to app templates and search for heimdall click on it and open up the advanced settings. These are the settings that we ran earlier on the command line. Here is where you can change port numbers and where you would map the application data. For now, leave everything on default and click deploy container.
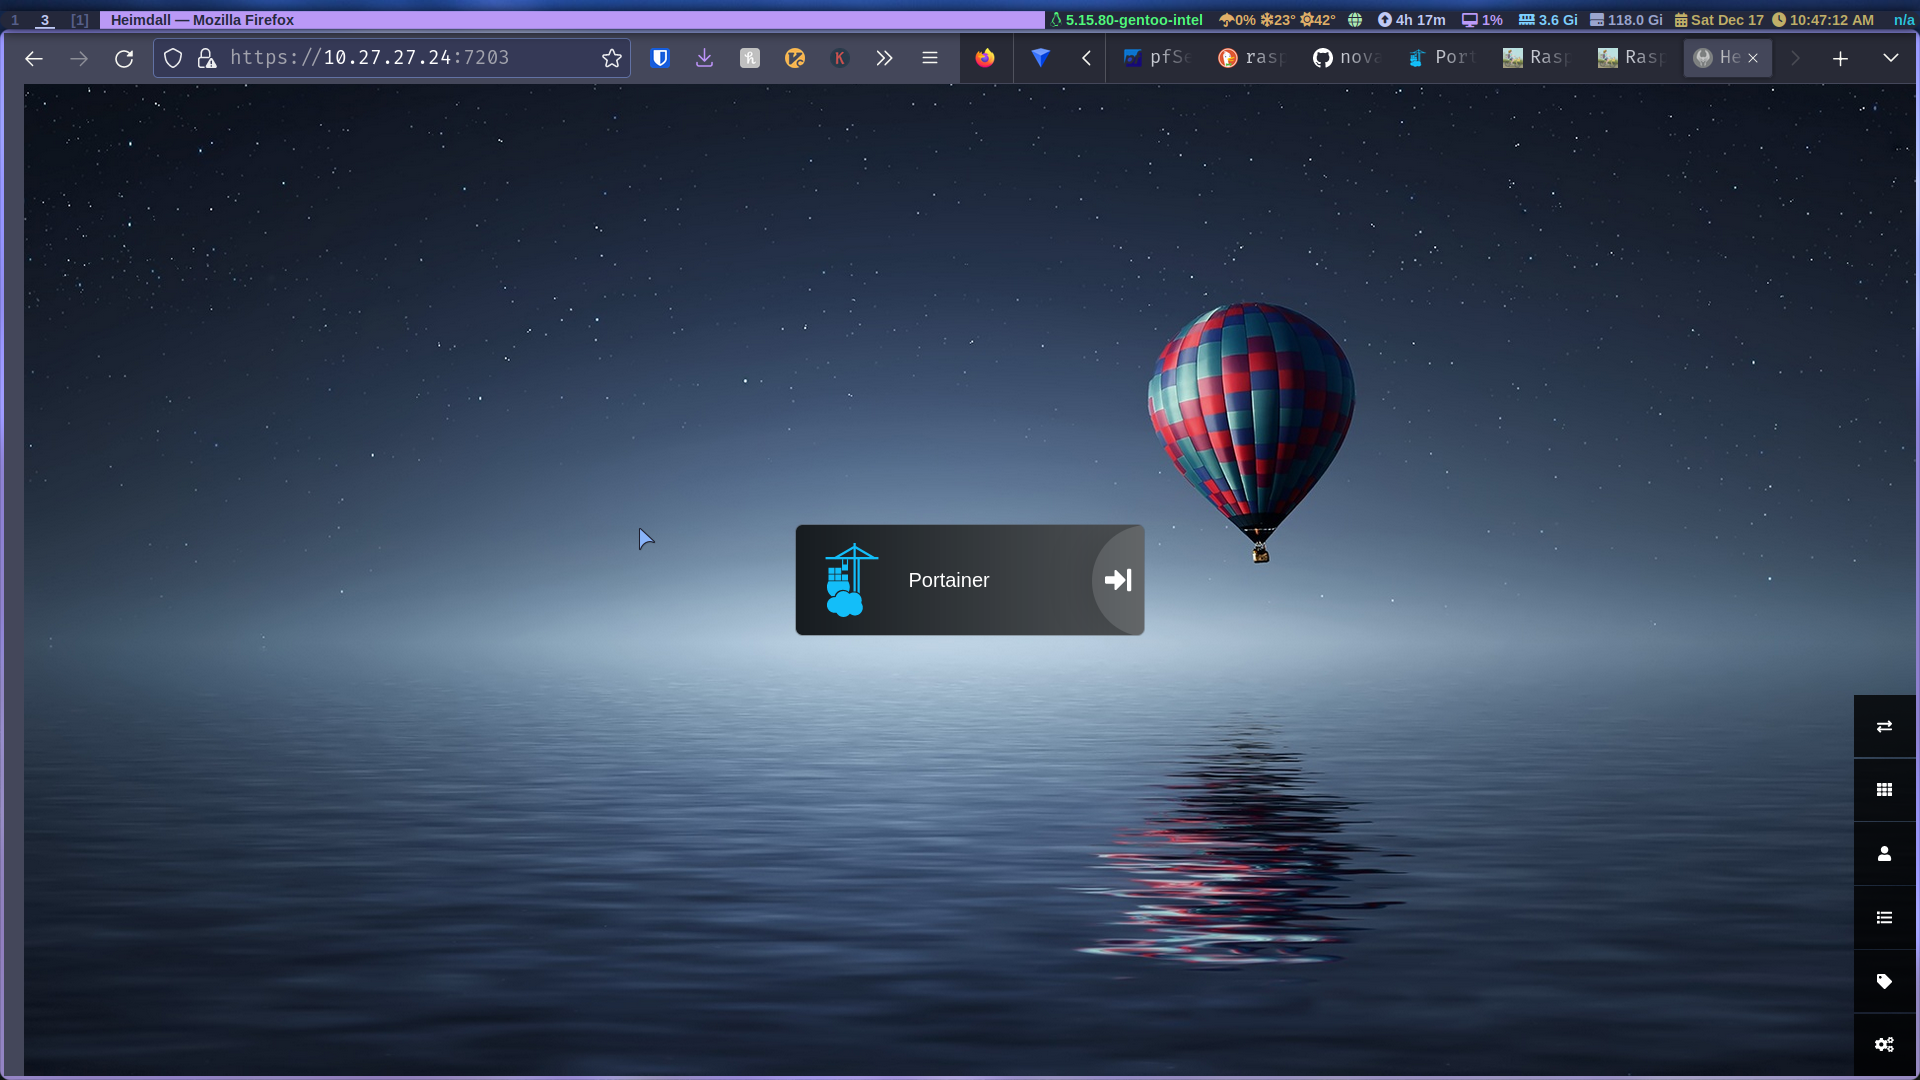
Once its deployed you can navigate to it on the same IP as the portainer instance except with the port numbers it chose, 7203
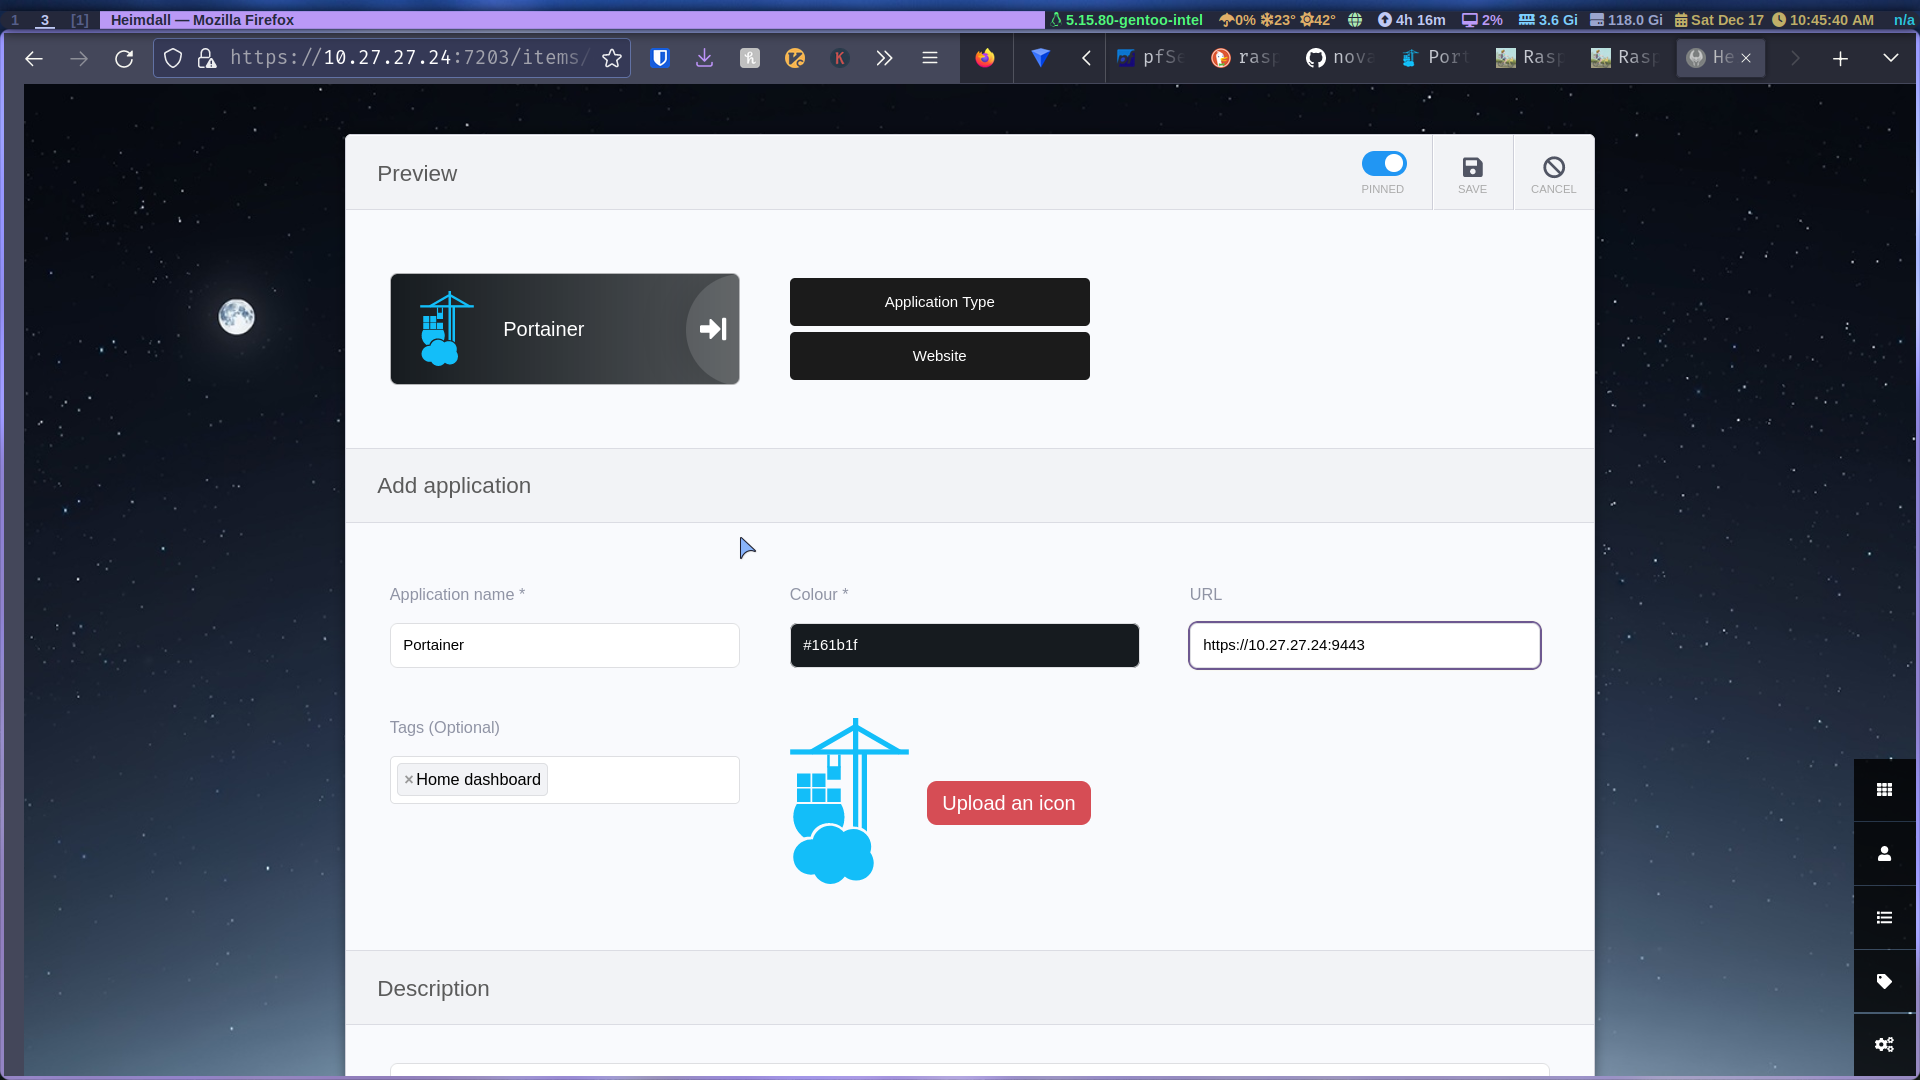
Let’s add our portainer instance on the dashboard click add application and portainer, add the URL from earlier https://10.27.27.24:9443 with your IP obviously, save it and that’s it. Now you’ll be able to navigate to portainer from the heimdall dashboard. Think about how useful it’ll be once you get a few apps running.
And that’s how you turn a raspberry Pi into small home server to self host a bunch of apps.
Comments