Get a website right now
Table of Contents
In this guide, I’ll show you how easy it is to get a website up and running in 20 minutes or less.
They’re four things you need to set up a site:
- A domain name
- A server
- Connecting that domain name to your server
- Installing a web server and enabling HTTPS
Get a Domain
A domain name is just a name connected to an IP address (the server that we’ll create soon) so it’ll be easier for humans to remember instead of a string of numbers. Domain names are also relatively cheap, .com’s are about $12 a year
They’re many domain providers and I’m not partial to any, but this time we’ll be going with name cheap since they have 99 cent domains.
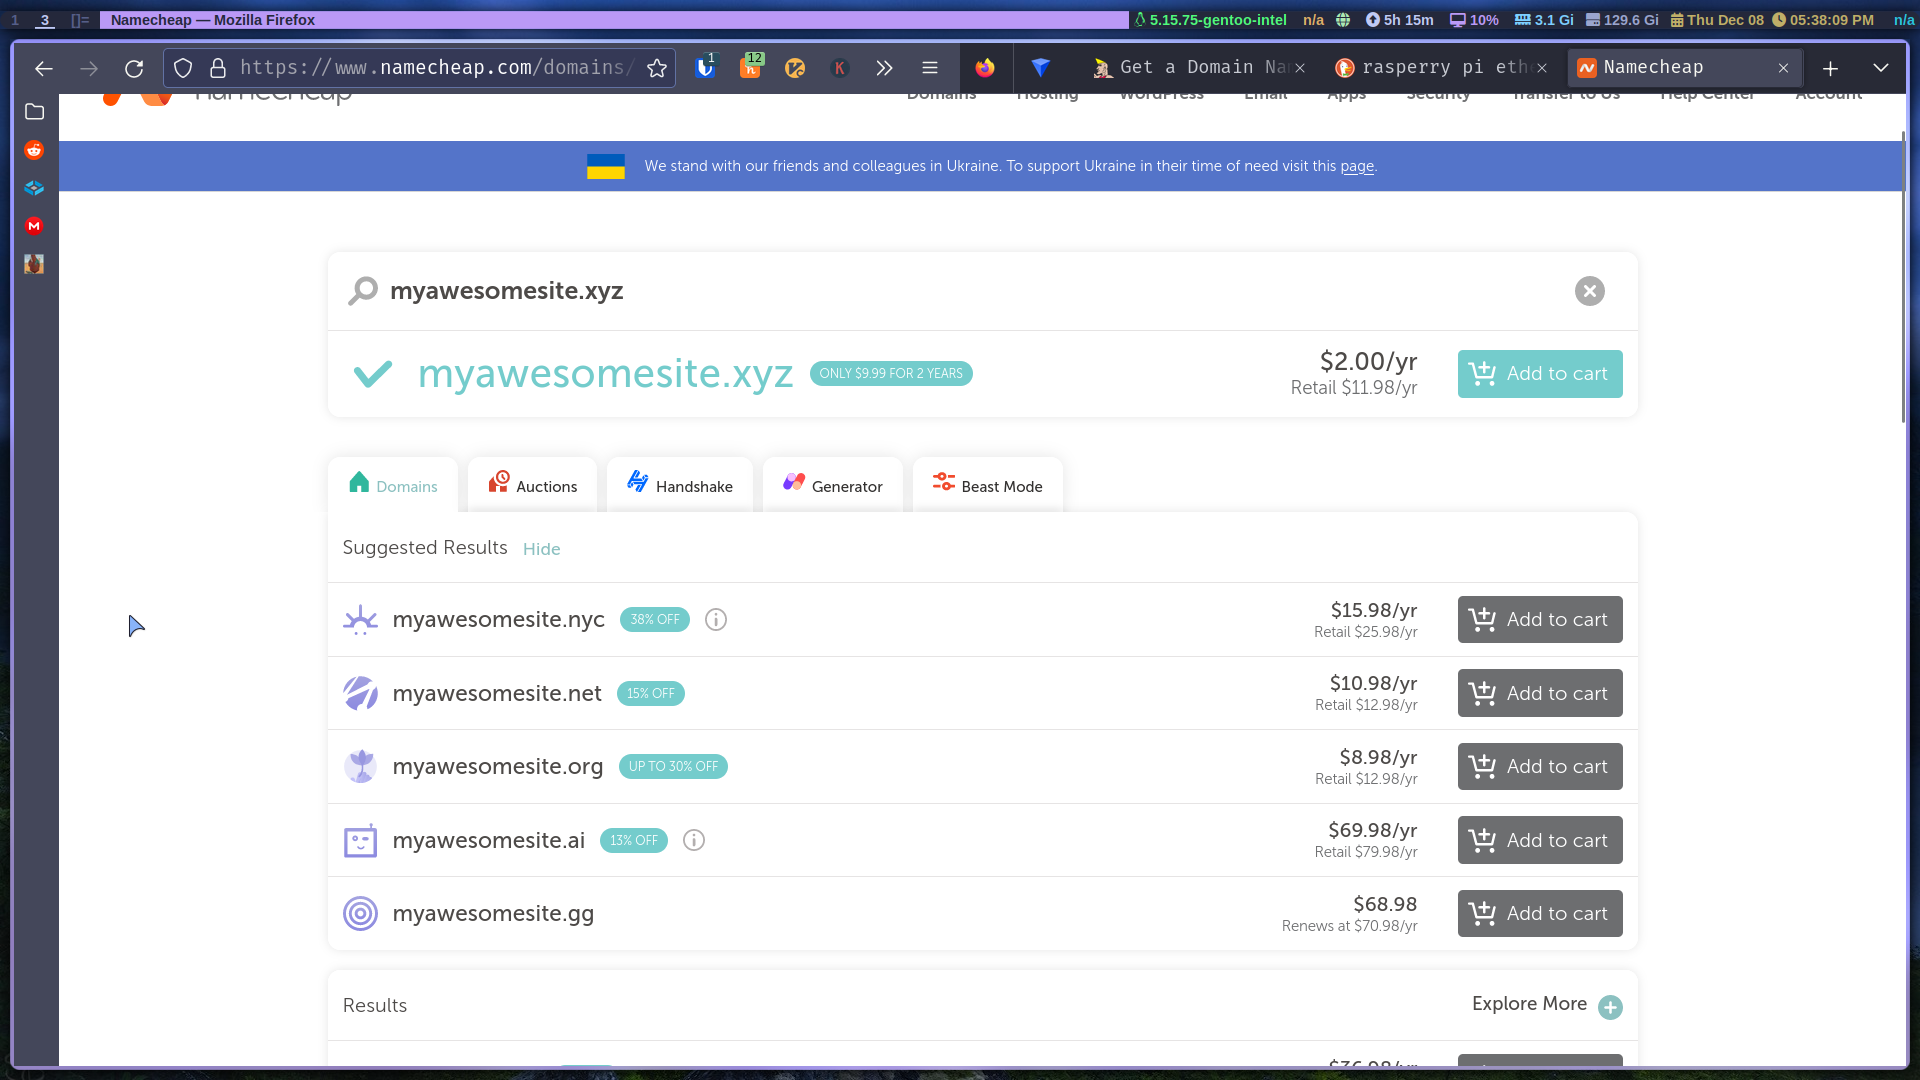
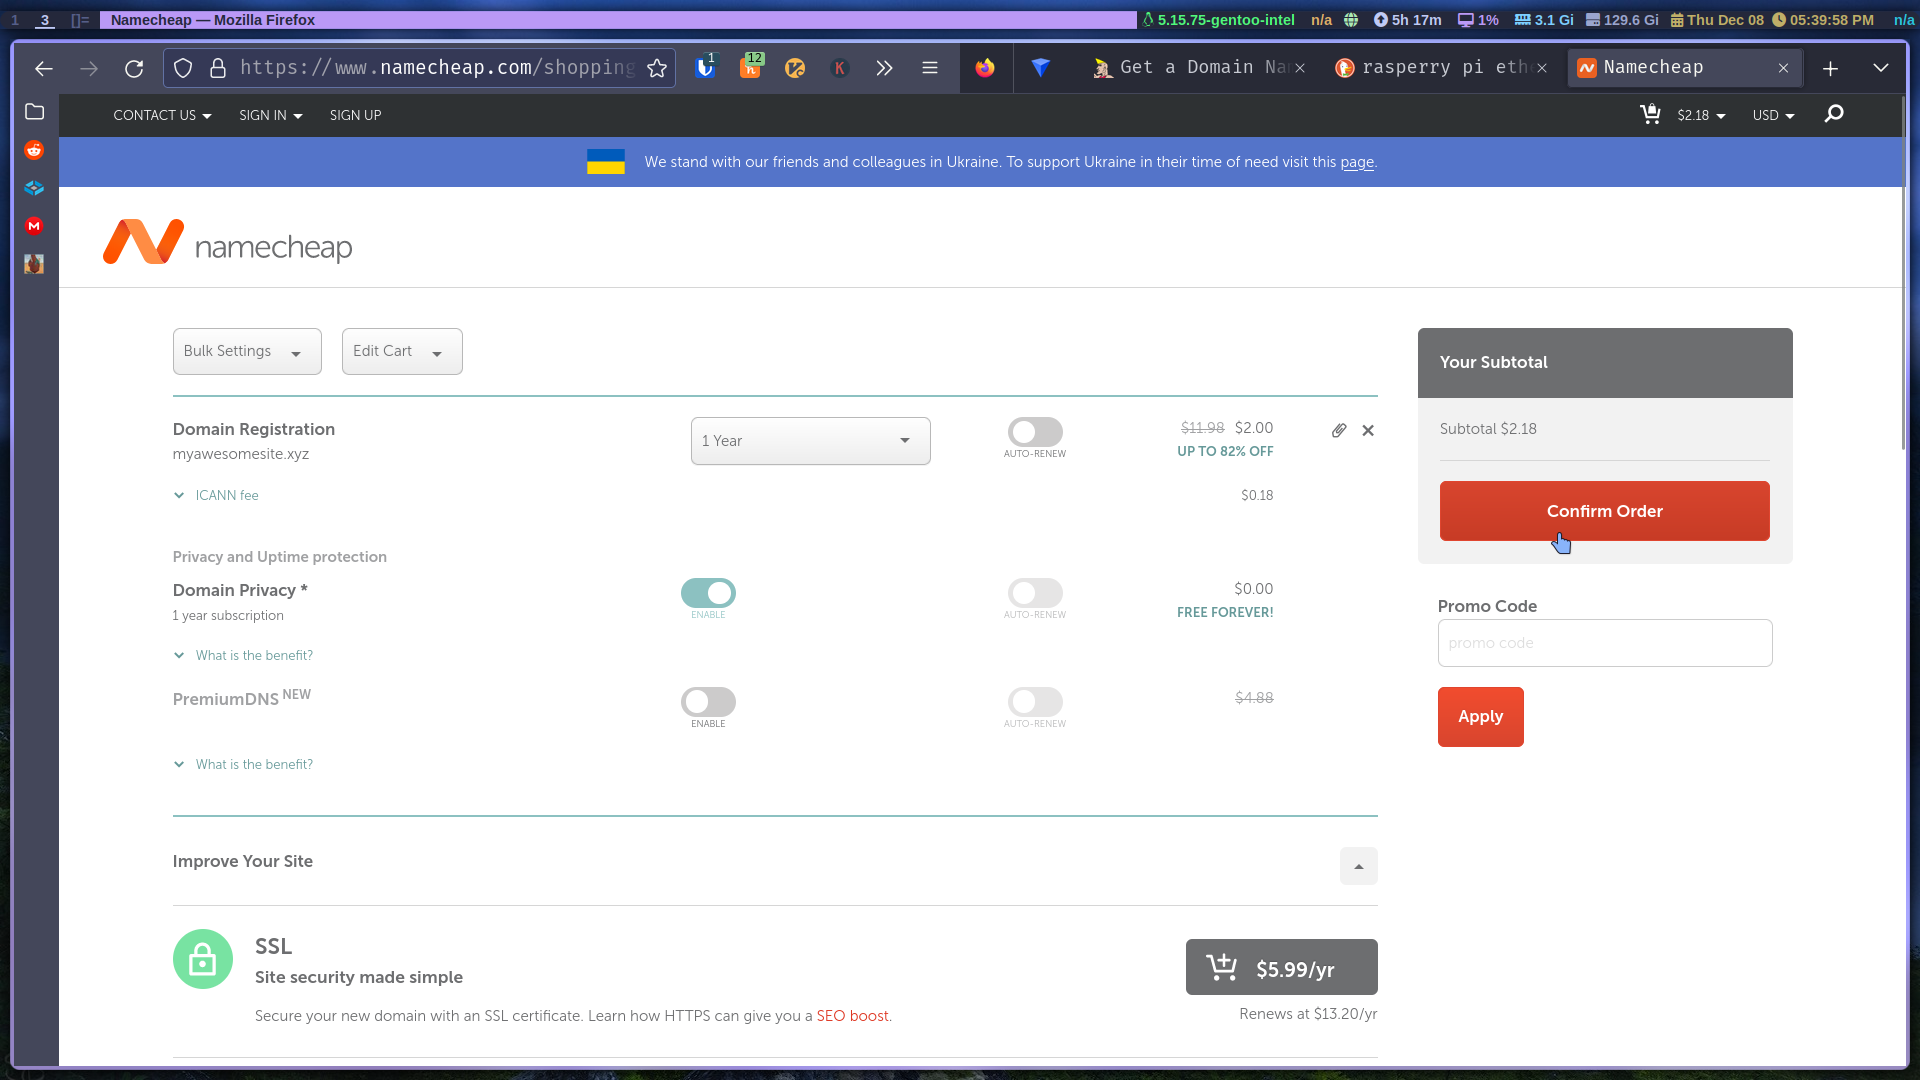
Go ahead and type in the domain you would like and if it’s available add it to your cart and checkout. Don’t worry about the extras they’re trying to push like SSL, we’ll get that for free later.
Get a server
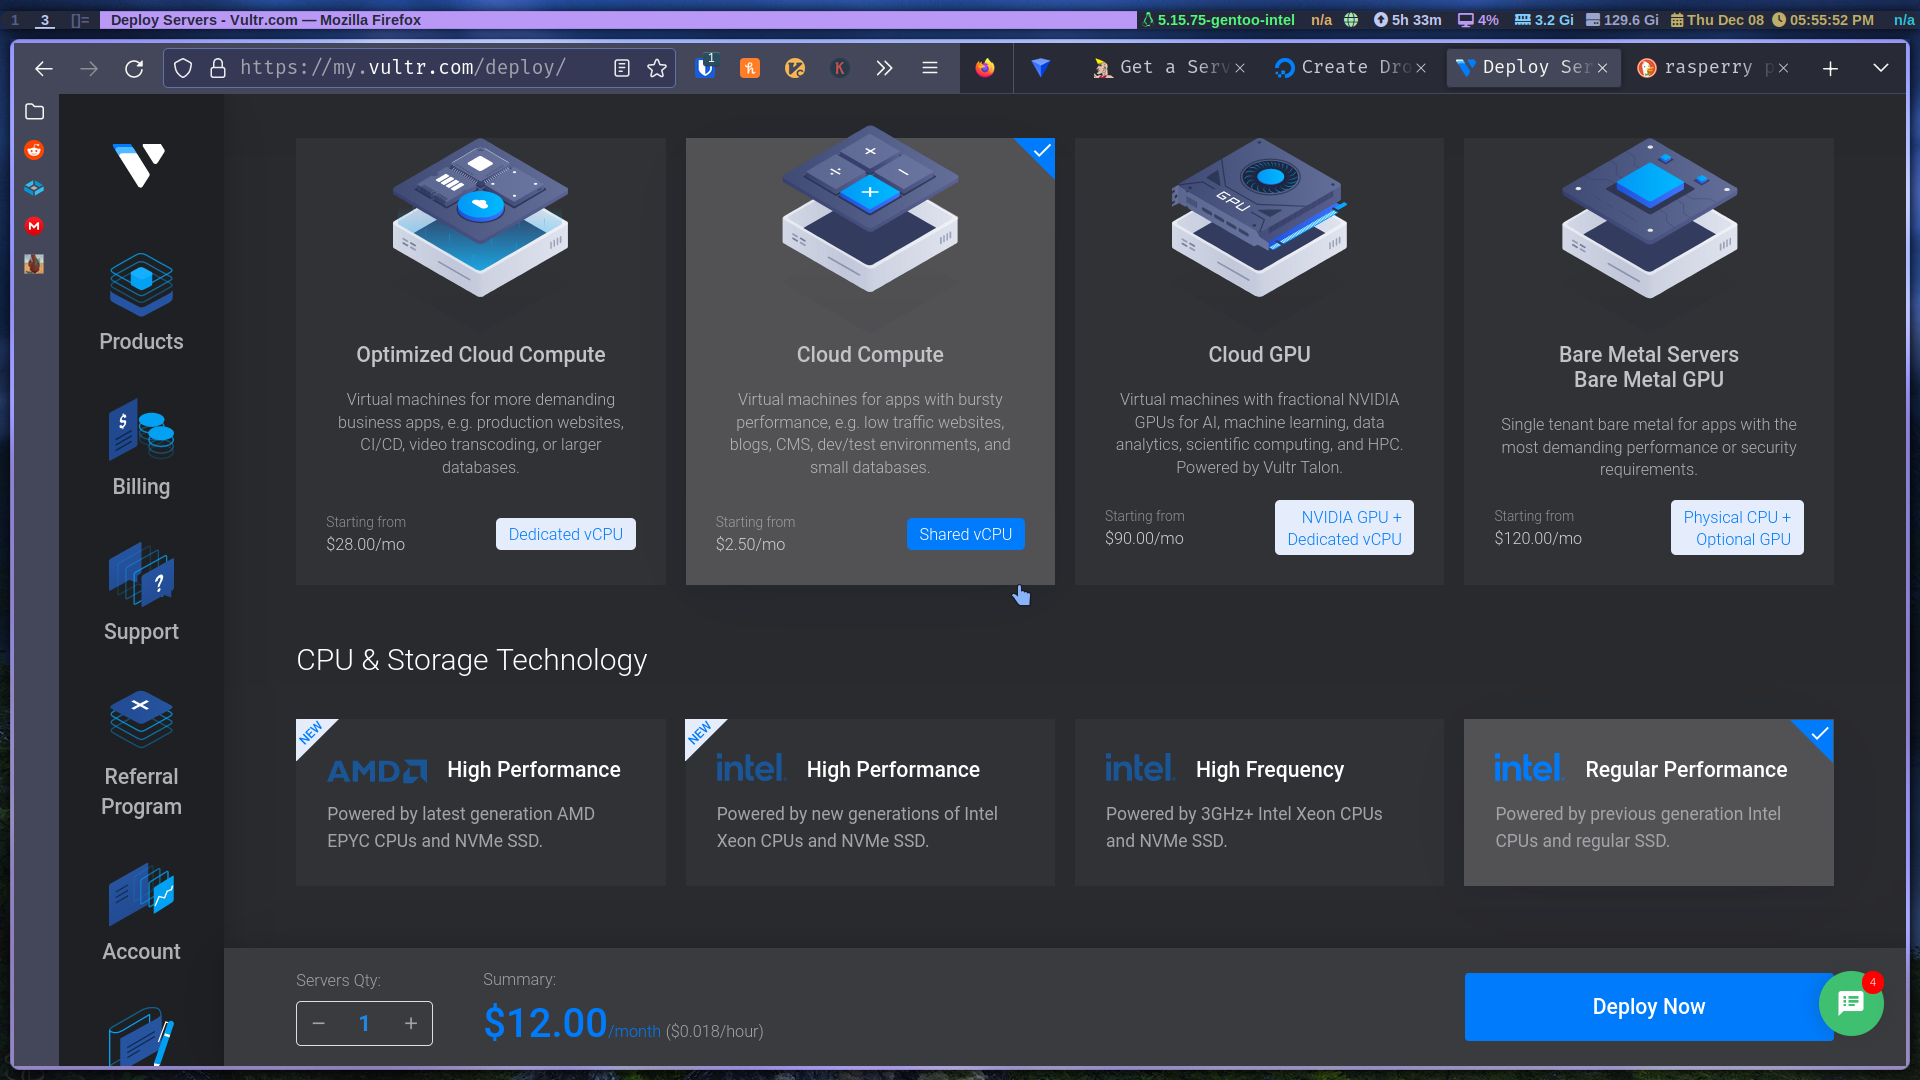
A virtual private server (VPS) is just a cheap way for anyone to host a service without having any on-premises machine. A VPS usually runs $5 a month, but sometimes they can be more. You can decide how powerful you want your VPS to be, but $5 is good enough to start with. With that single VPS, you can host several services.
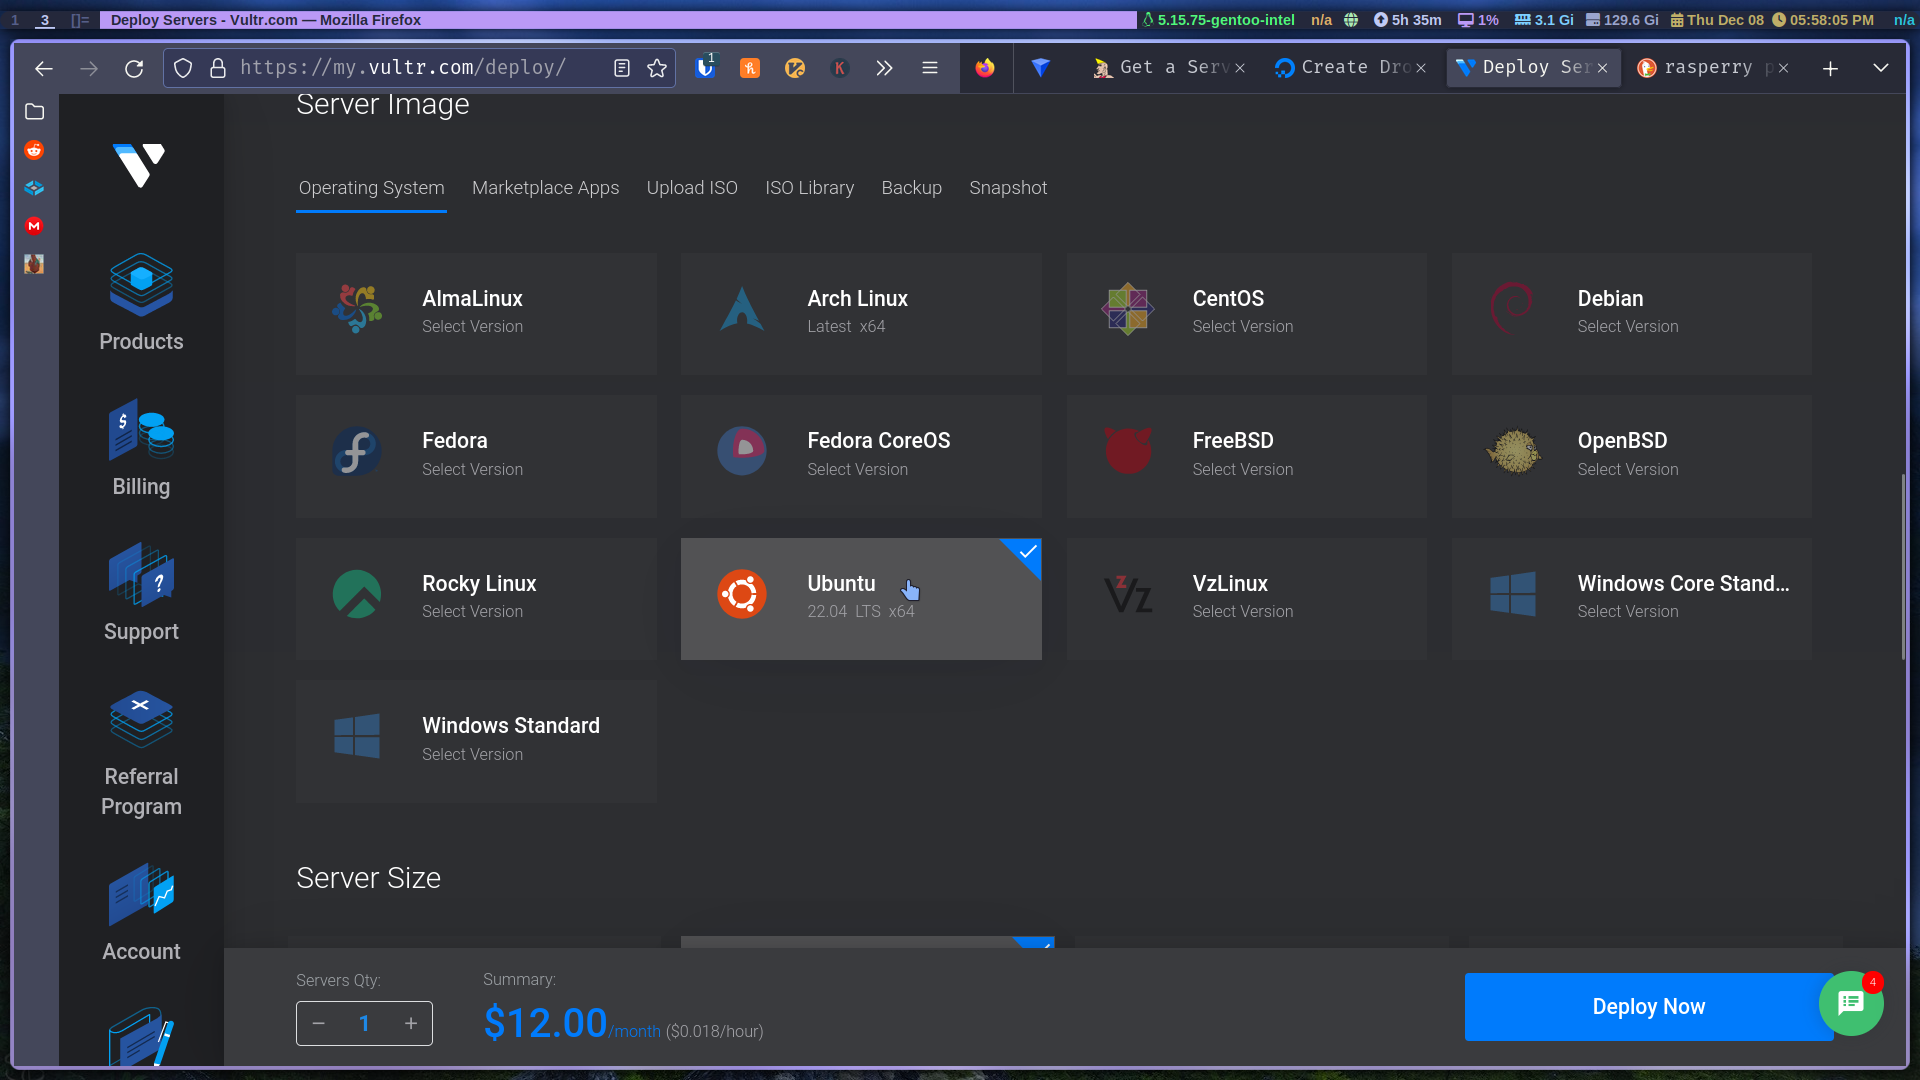
Let’s go to vultr.com to get our VPS. Go ahead and create an account. Once you’re logged in, go to “deploy a new server”. Choose cloud compute and regular intel performance. Choose the area closest to you physically for best performance and create an Ubuntu 22.04 LTS image. Make sure you have the ipv6 option enabled. Enter the name of your server and deploy. That’s it! Now we’ll have to wait a few minutes, so it could do it’s magic, and we’ll be able to connect to it.

connect domain and server
Once your server deploys, and you can see its IP, we can connect it to the domain server. Log in to namecheap.com and go to your domain click manage, then use custom DNS, now let’s add vultr’s name servers, so we can manage our DNS records directly from vultr. Make sure it looks like this:

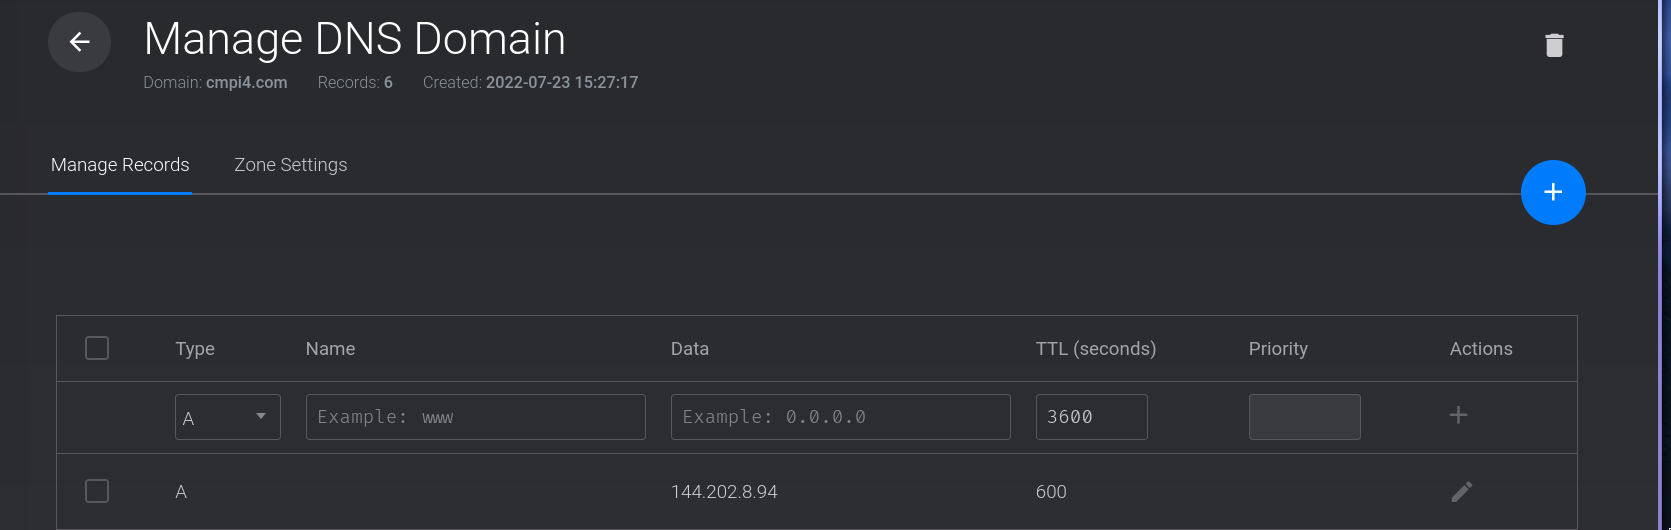
Now we can go to vultr and add our domain, go to the DNS tab and add your domain. Then within that domain we can add the IP address of the server we created, like so:
Finally we’re ready for our website.
Setting up webserver
Let’s log in to our server with ssh root@domain. Run: apt update && apt upgrade -y to update all packages. Once that’s done log out and let’s create a pair of SSH keys so we won’t have to use passwords. On your local machine run ssh-keygen -t rsa -b 2048. This command creates a private key: the -t flag is the type of key, -b flag is bits aka how big it will be.
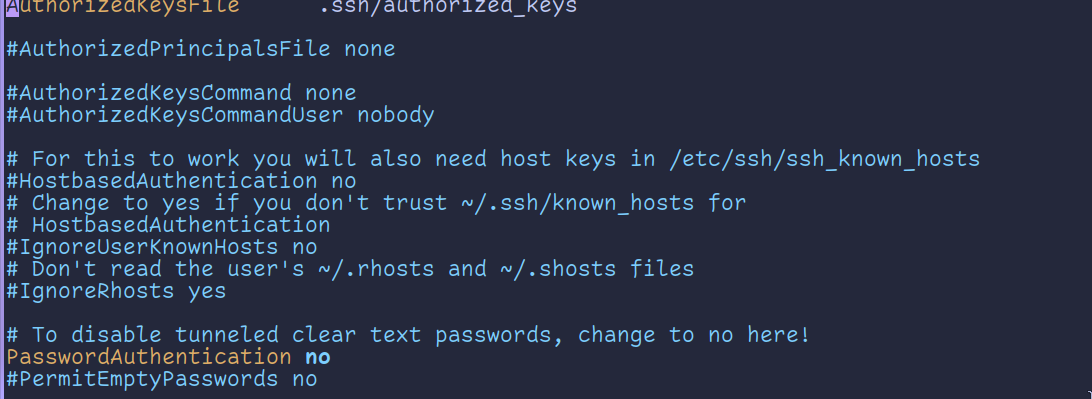
Run ssh-copy-id root@domain put in your password for the last time and now you can log in without a password. Make sure you back up your key. Now to make our server even more secure let’s disable password logins. Run nano /etc/ssh/sshd_config, turn passwordauthentication=yes to =no and make sure the AuthorizedKeysFile is uncommented and pointing to the correct file. Now save and quit the file and run, systemctl restart sshd.service. That’s it.
Now let’s install our packages for the website. Run apt install nginx. This is the web server, once it’s finished let’s create our config file nano /etc/nginx/sites-available/yoursite, you can name it whatever you want. But it has to be in the /etc/nginx/sites-available directory. Now put this into your file:
server {
        listen 80 ;
        listen [::]:80 ;
        server_name example.org ;
        root /var/www/mysite ;
        index index.html index.htm index.nginx-debian.html ;
        location / {
                try_files $uri $uri/ =404 ;
        }
}
What these settings mean
Listen 80 is the port nginx will use to host your site
server_name is the name of your site
root /var/www/mysite is where all the files to your site live
index is what file will be displayed when someone goes to yoursite.com, it’ll most likely be index.html
location is telling the site how to look up files it throws up a 404 error if it doesn’t find anything that matches what was searched
Now edit the two lines: server_name and root /var/www/mysite. Make sure you put your domain name for server name and create the directory for your site in /var/www/. This is where all the files for your site live.
Create an index.html in /var/www/mysite and put in the following:
<!DOCTYPE html>
 <h1>My new website!</h1>
 <p>This is my website. </p>
 <p>Now my website is live.</p>
Save your file and link it to nginx’s sites-enabled dir: ln -s /etc/nginx/sites-available/yoursite /etc/nginx/sites-enabled
Reload nginx, systemctl reload nginx now visit your site and you’ll see the text you wrote.

Sometimes vultr’s firewall will block ports 80 and 443, let’s enable them: ufw allow 80 && ufw allow 443.
Now you have a website.
HTTPS
The final piece, adding encrypted HTTPS. This is easy, install this package apt install python3-certbot-nginx. Then run certbot --nginx and press enter for the defaults, it’ll go out and get you free SSL certificates. Go to your site and you’ll see you have an encrypted connection. The certs only last 3 months so let’s create a cron job to auto renew: crontab -e choose your editor of choice and put this new line 0 0 1 * * certbot --nginx renew. This line is running certbot’s renew command every month automatically so we won’t have to. And that’s it you have a fully functional and HTTPS encrypted website.